6 advantages to laser engraving designs
You may have noticed that here at Batch our projects are often not confined to just one type of tool or machine. We explore and experiment with skills and techniques that span a variety of fabrication methods, which helps us as we work to prototype the concepts and ideas we push toward fruition.
There is equipment available today that has the potential to allow a small team, even a single person, to manufacture high-quality, retail-grade products, at a level equal to—if not better—than what can be produced with current conventional manufacturing methods. With a combination of today’s current crop of 3D printers, laser engravers, sewing machines, CNC machines and other fabrication tools it is possible to build a business the nature of which would have been near impossible even just a few years ago.
What is interesting to us is when you start to combine the use of some of these tools and skill sets into the conception of each project — where can your imagination take you?
One big question from this summer for us: can laser engravers be used on materials beyond the commonly utilized wood, acrylic, and metal — specifically; the materials we used for output on our other equipment, such as 3D printing filament, fabric and other textiles?
6 advantages to laser engraving designs
If you have a laser engraver, or have looked into one, you typically see people use this machine on wood, metal, or sometimes glass (and there are certainly plenty of articles out there telling you how to start a business around products using these materials). We were more interested in how to apply this technique to 3D printed objects and fabric, materials we hadn’t often seen used in projects involving lasers.
As we got into our tests this summer we quickly realized there are some advantages of using a laser engraver to apply designs to your projects (in general):
Precision and Detail: Allow for highly detailed and intricate designs
Speed and Efficiency: (With certain machines) can be a quick process, allowing for faster production compared to manual methods
Customization: Enables easy customization of designs, making it simple to personalize for individual clients or specific projects
Non-contact Process: Since laser engraving is non-contact (vs constant contact like hand painting/stamping, or manual engraving), there's less opportunity for human error or variance.
Durability of Designs: The designs are often more durable, resisting wear, fading, peeling, or abrasion.
Versatility: Laser engraving can work on various types of materials which offers a range of creative possibilities.
Multiple passes
One thing we learned is that in order to achieve a richer complexity, you’ll need to do multiple passes at different settings. More complex designs, especially those that utilize the effective spectrum of a given laser and material combination, will require careful and meticulous setup of the lasers’ output parameters for each element of a design. For a number of reasons, your initial attempts with any material will not result as you expect. To help increase your chances for success, as well as help you troubleshoot and correct any issues for any subsequent reattempts, try the following:
Keep detailed notes of all the settings used for each element/pass (screenshots can help here)
Good layer organization in your engraving file (this can effect engraving sequence)
Double- and triple-checking settings for each of those layers (one wrong digit or pulldown selection can ruin an entire piece, or even start a fire)
Some things to consider before getting started
Working through our tests and experiments, we did come up with a few things we’d want to let anyone who was interested in trying this know before they began:
Don’t forget basic safety: Because some of what we’re discussing here begins to move beyond common and conventional laser engraver processes, it’s worth reviewing safety protocols and core intent for each.
Color makes a big difference: Because you’re essentially working with amplified lightwaves from a very focused part of the spectrum, the effect and effectiveness of any given laser will vary greatly depending on the color of the material you’re attempting to use it on. Generally, there tends to be more effect on darker materials than on light materials. This is because dark materials physically absorb more light, and lighter materials reflect more. Dark materials will often give you more range in the gradation of the lasers’ effects. While the closer to white a material is, the more likely the effect may be none at all.
Laser wavelength and material color: In addition, lasers will often have little or no effect on materials that are the same color as the spectrum they emit. For instance, IR lasers tend to have a difficult time with red materials, and blue diode laser similarly need to be set at higher power to affect blue or purple materials. Of course, exceptions abound, but we always recommend pretesting a material before making any major commitments.
Always test first: Because of the aforementioned factors, always perform some sort of settings capability spectrum test with the laser on the specific material you will be working with. The parameters can vary, but often they are a graduated matrix of power and speed combinations, or power and line frequency. This will give you a place to start before you begin design.
Learn More
While the general benefits of precision, customization, and durability apply across materials, what we did find is that the specific settings and techniques required for each material vary, and each material has its unique advantages and challenges when engraved with a laser. If you want to learn more, check out some of our previous posts:
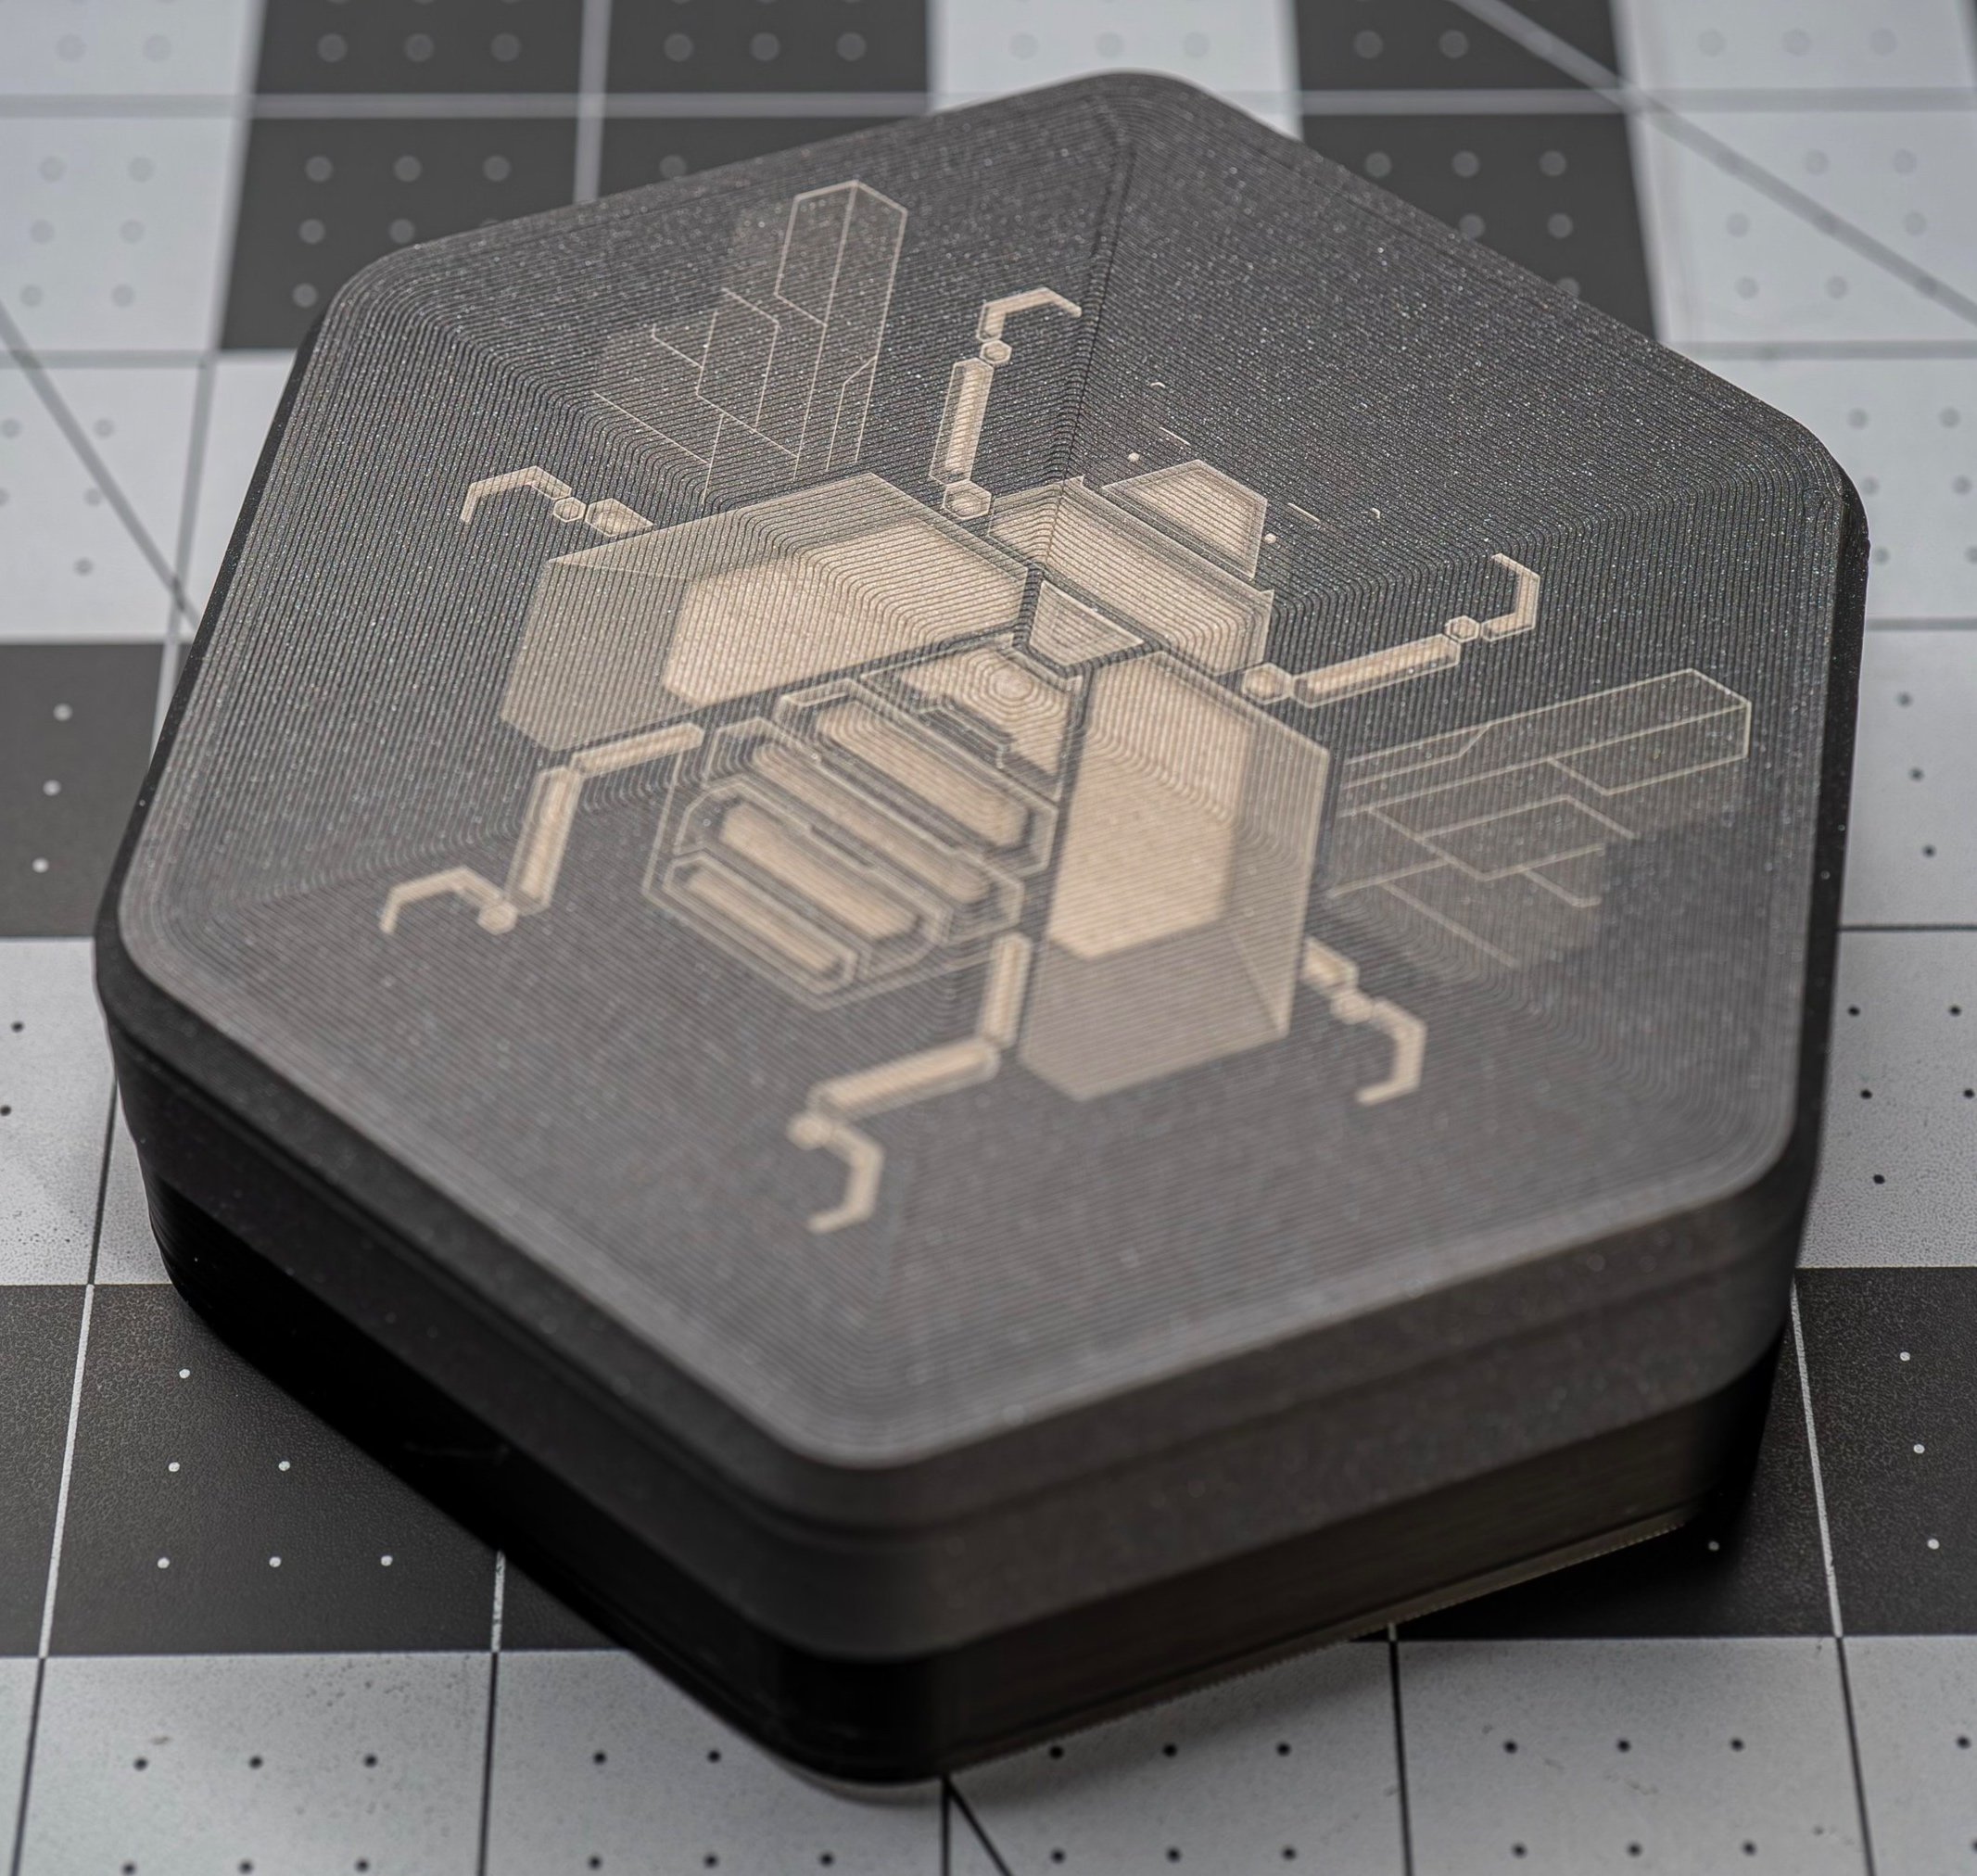
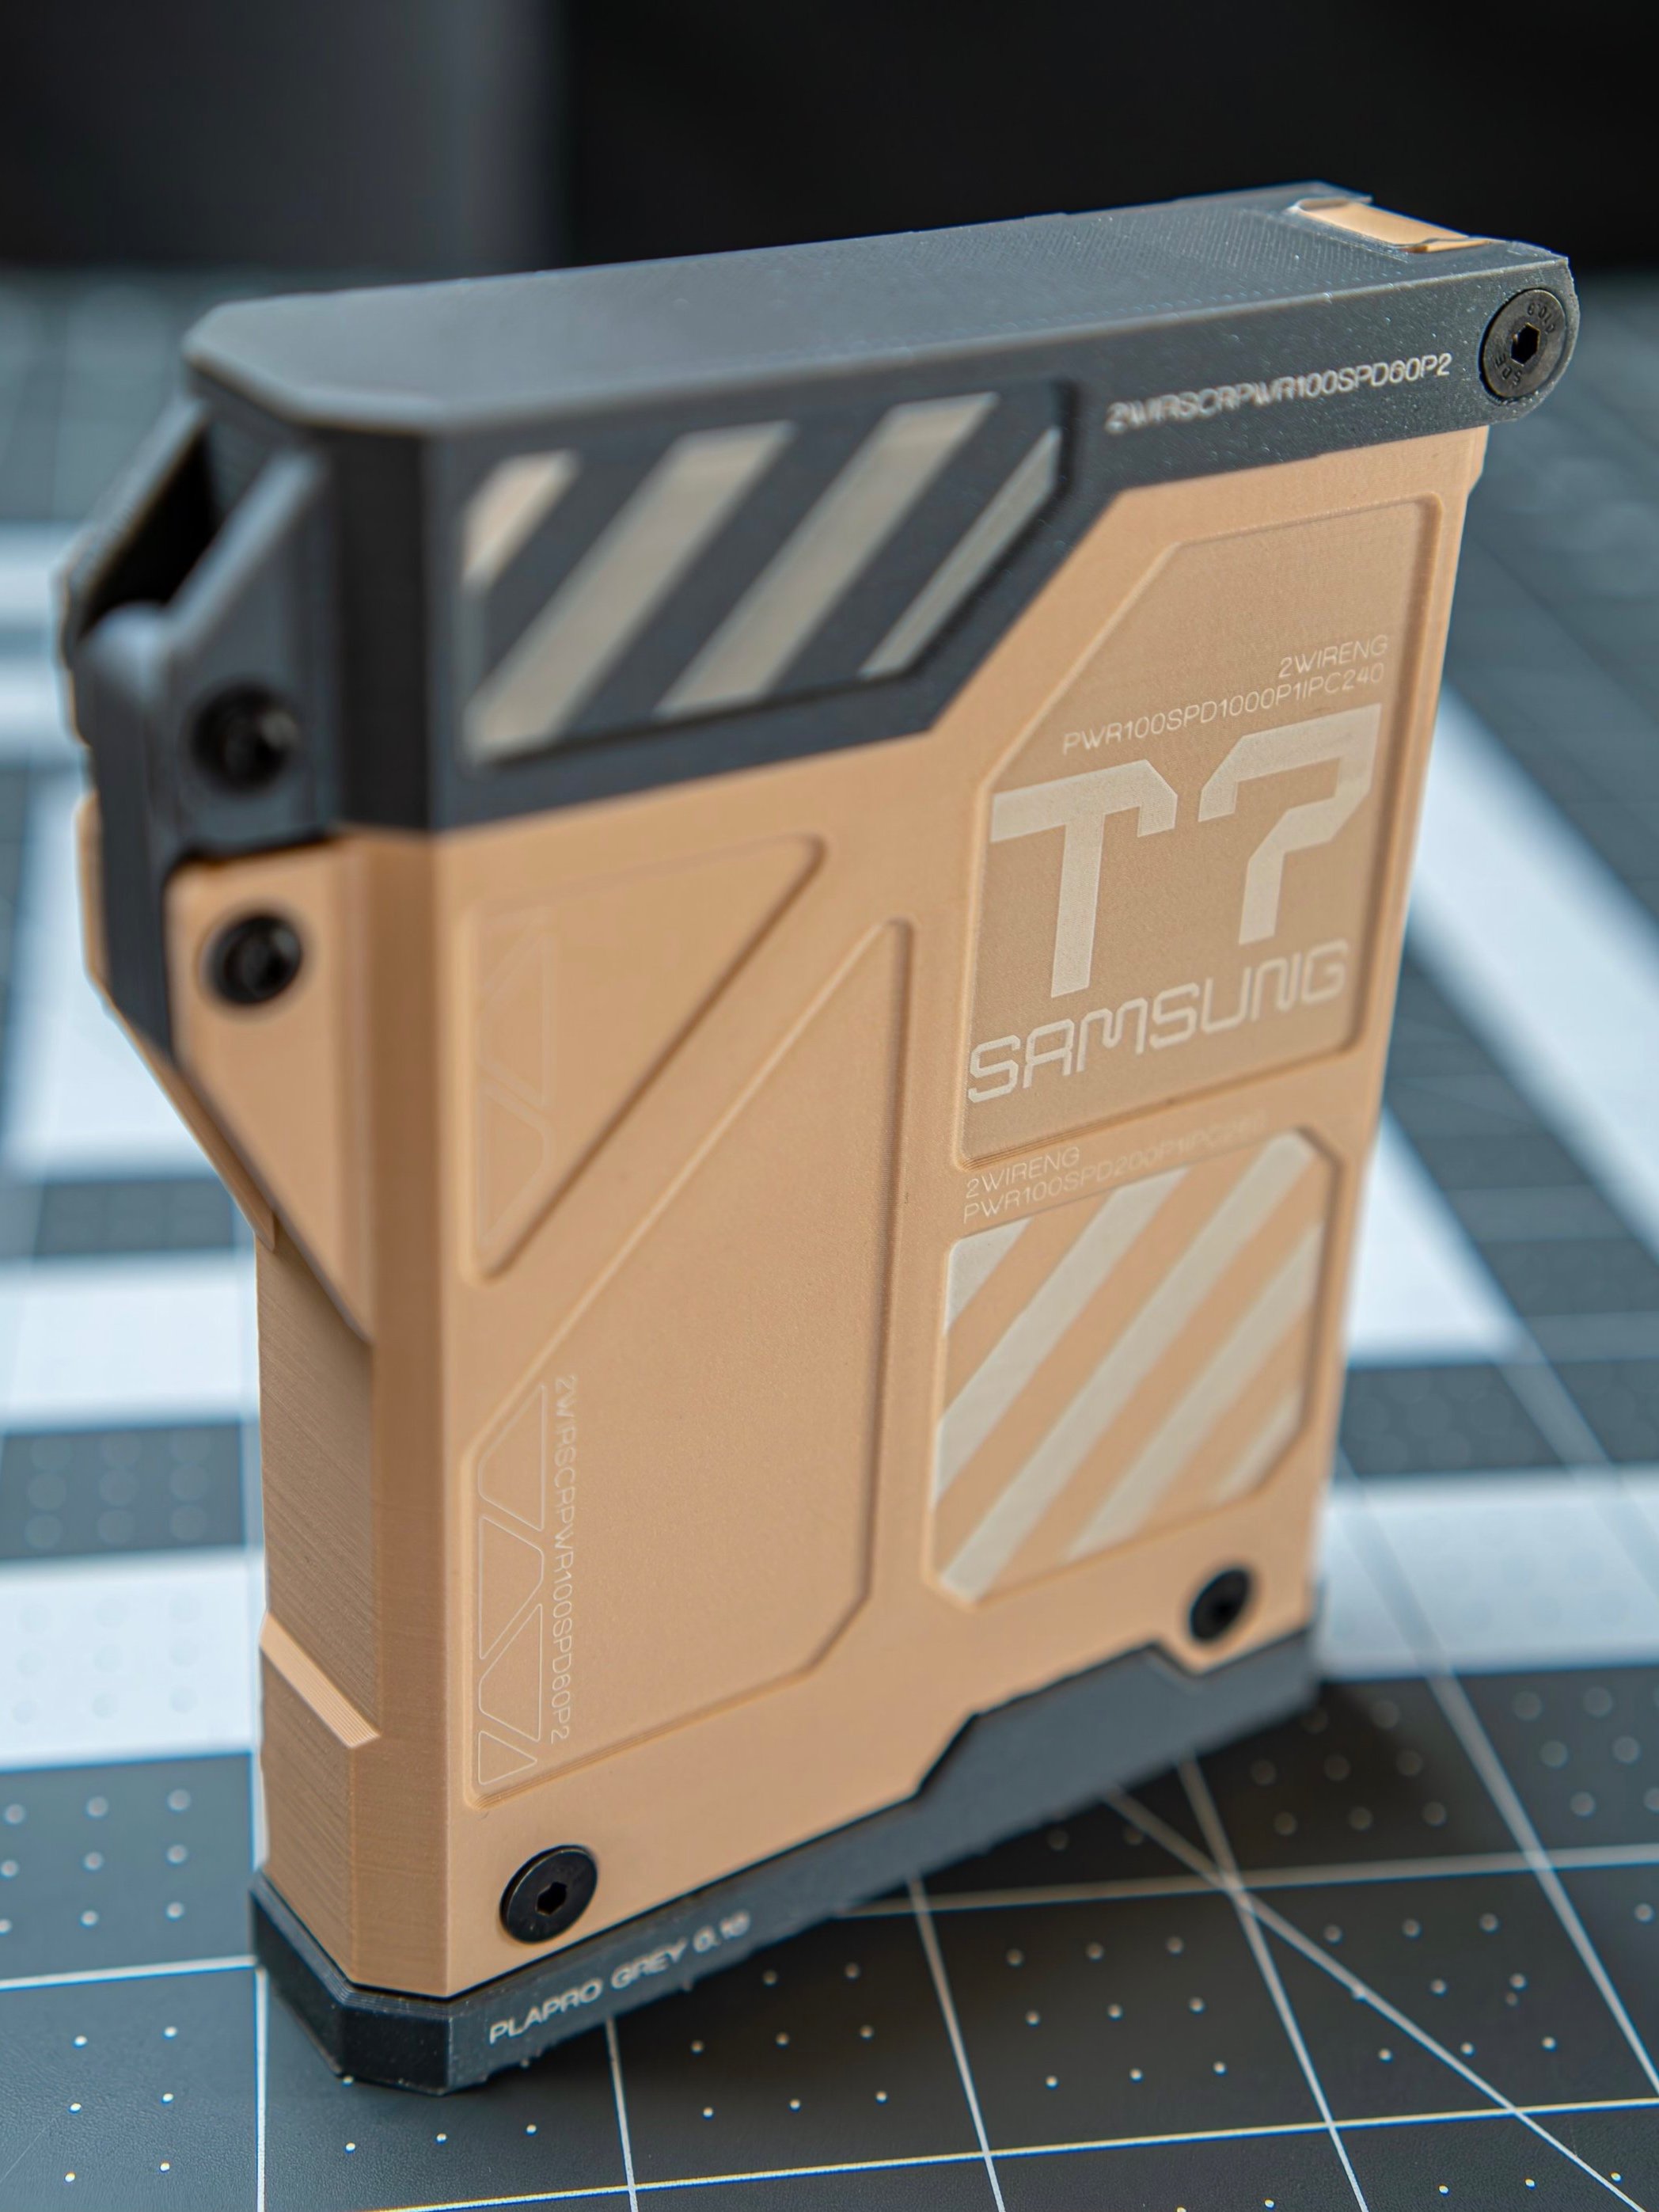
… And be on the look out on September 20th on our Instagram channel where we’ll post the first of three Reels that share our laser settings for the Beetle, Moth, & Samsung examples from this post.


