A new take on DIY purse handles
Following our exploration of pillow designs, we found ourselves searching for other types of durable goods that we could apply those skills and techniques to. Which got us interested in learning how to make handbags and purses.
As we learned the basics along with the anatomy of a purse, we wondered which style of handles we should use. Inspiration struck when we came upon the vintage purses with wooden handles, similar to the Bermuda Bag. And of course, we asked ourselves, “can we make these handles?”
Follow along our journey as we learn, prototype, and iterate our custom designed purse handles.
Starting with the basics and onto a concept
Now, we’ve never made a purse before so we initially started small by making a pouch that can be used as a clutch. This way we can get some basics down, like creating an easy pattern, sewing a zipper, and adding a liner with a small pocket.
After some trial and error, we got this cute pouch created. Not bad!
After feeling more confident with the basics, we were inspired to move onto a purse with a handle. In particular, we were drawn to the vintage styles with the wood handles.
While this style has been around for awhile, they certainly had their heyday in the 80s as Bermuda Bags. Anyone remember those?
And while you can purchase similar purse handles today, one of our Batch partners-in-crime was like, “Let’s make the handles ourselves!” This allowed us to incorporate other fabrication techniques, while also opening-up a world of possibilities around material, color, design, and best of all, rapid prototyping.
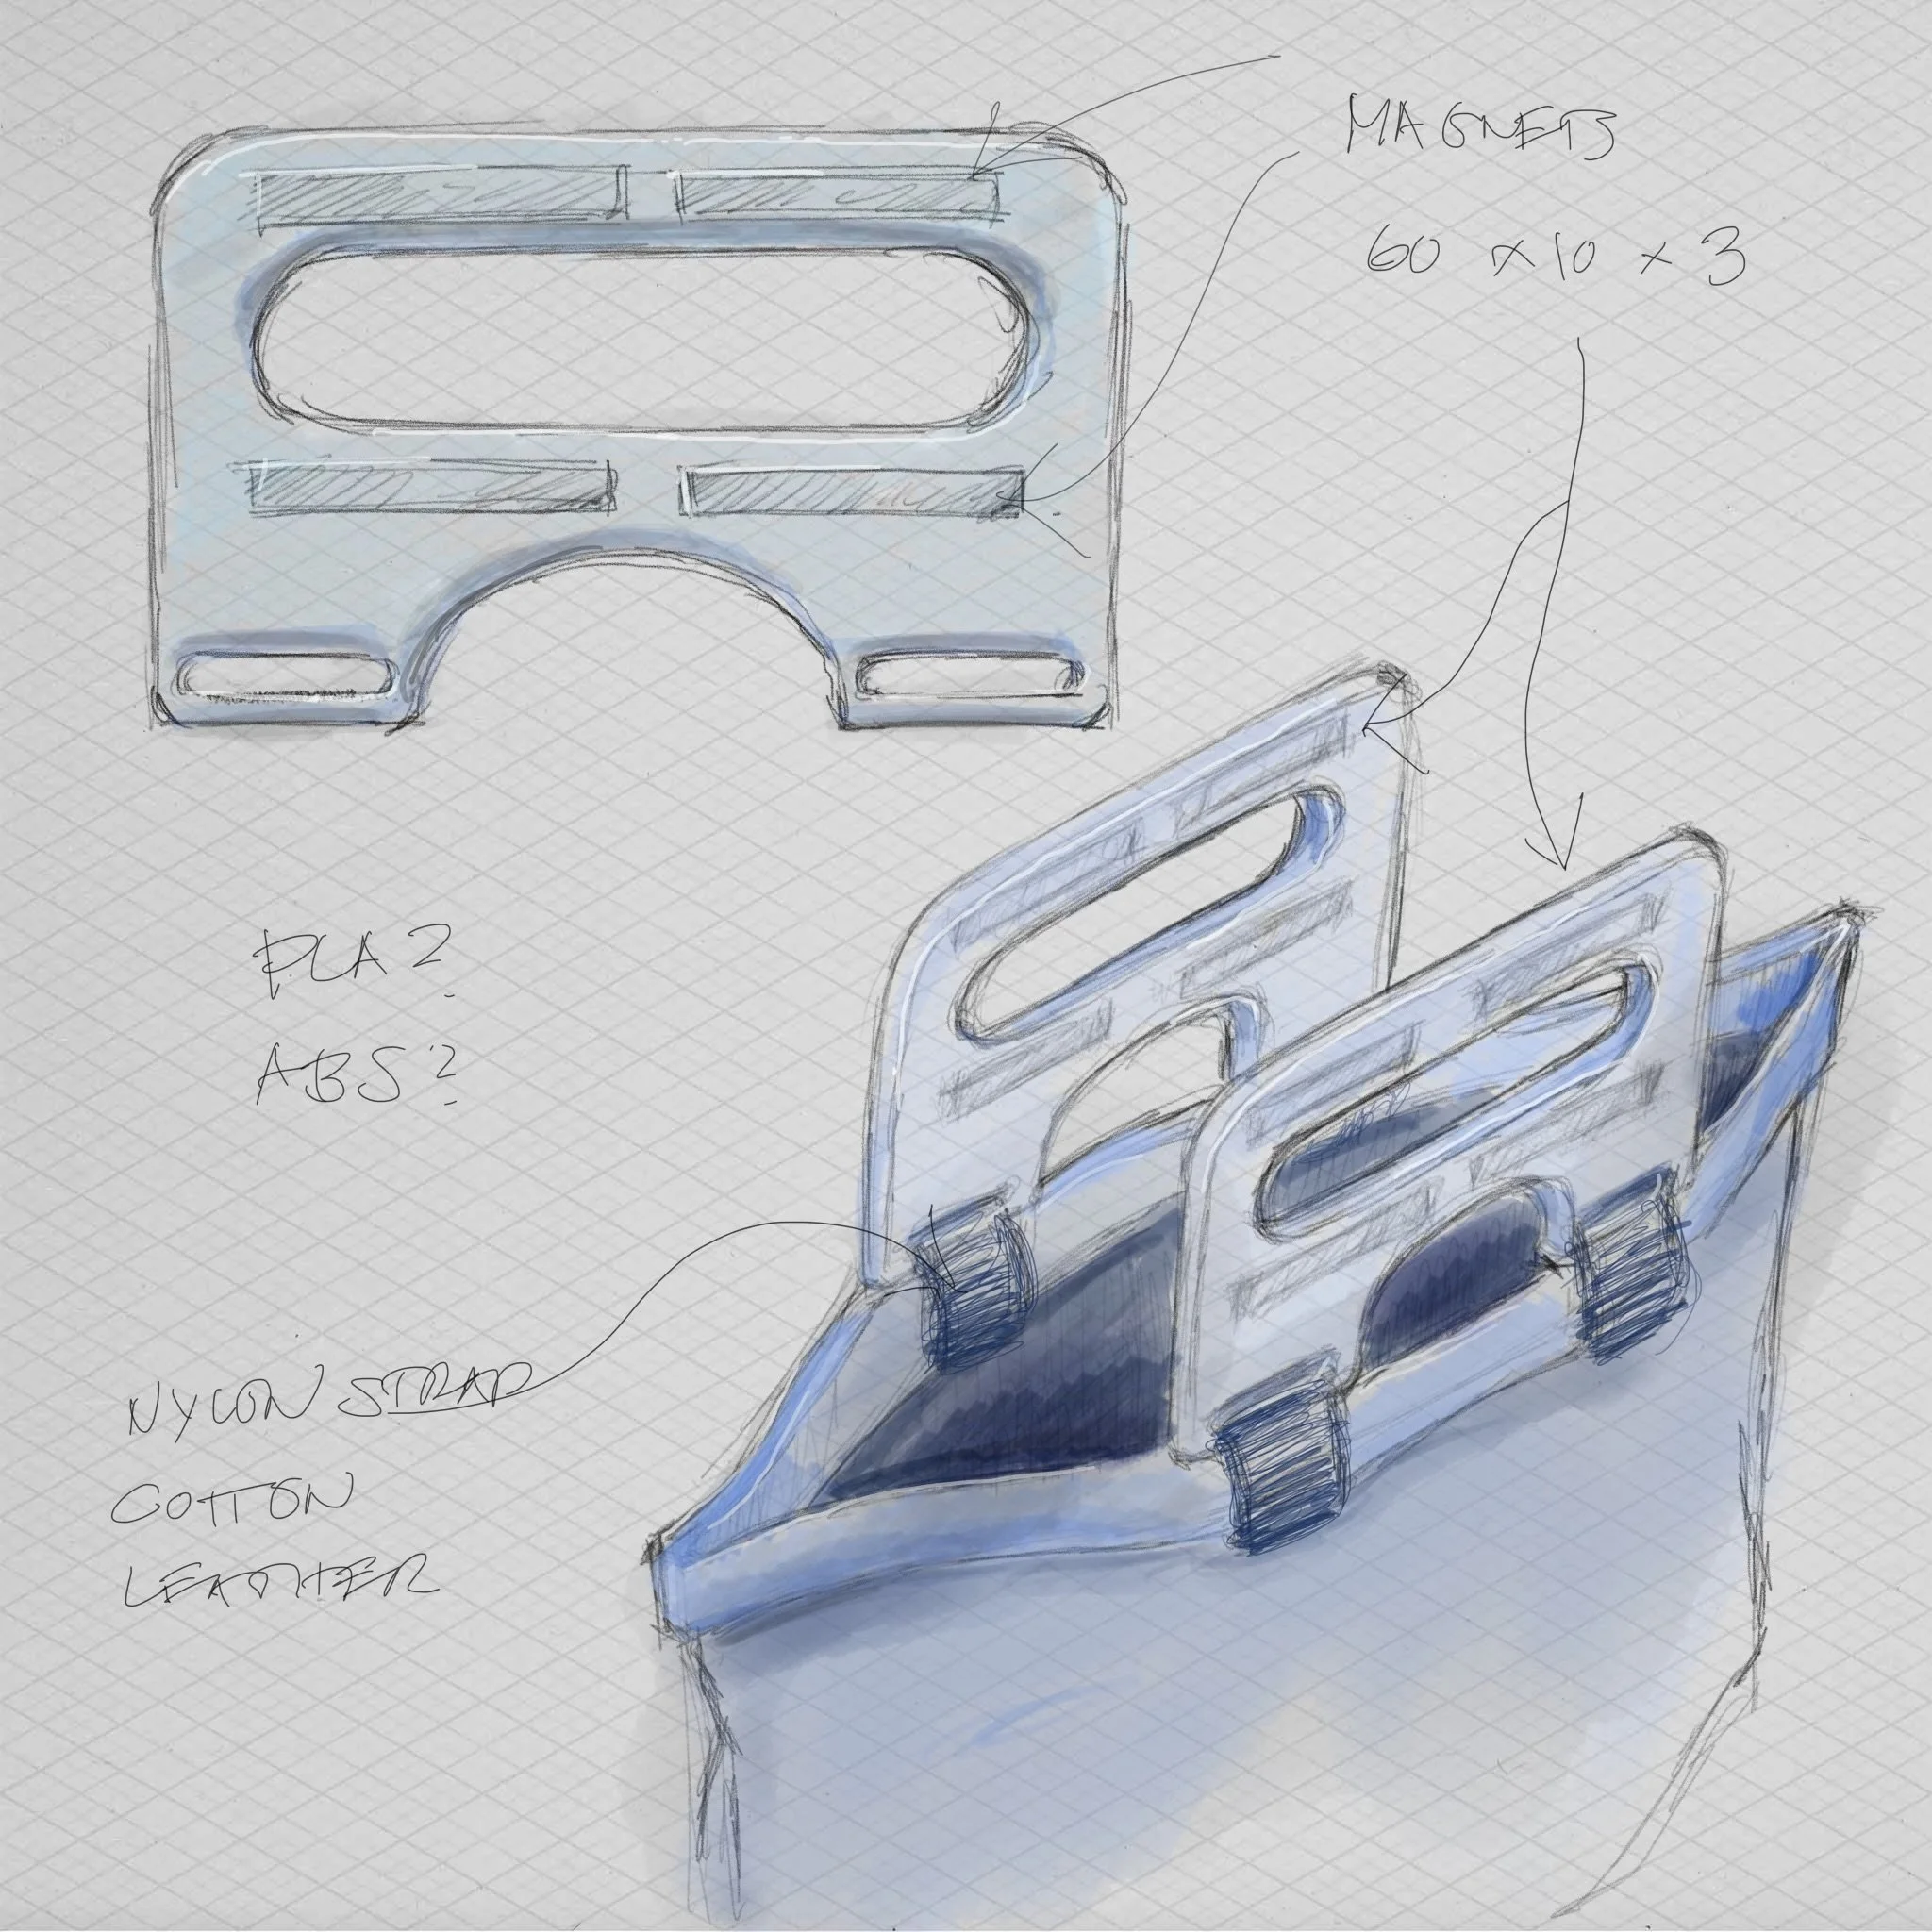
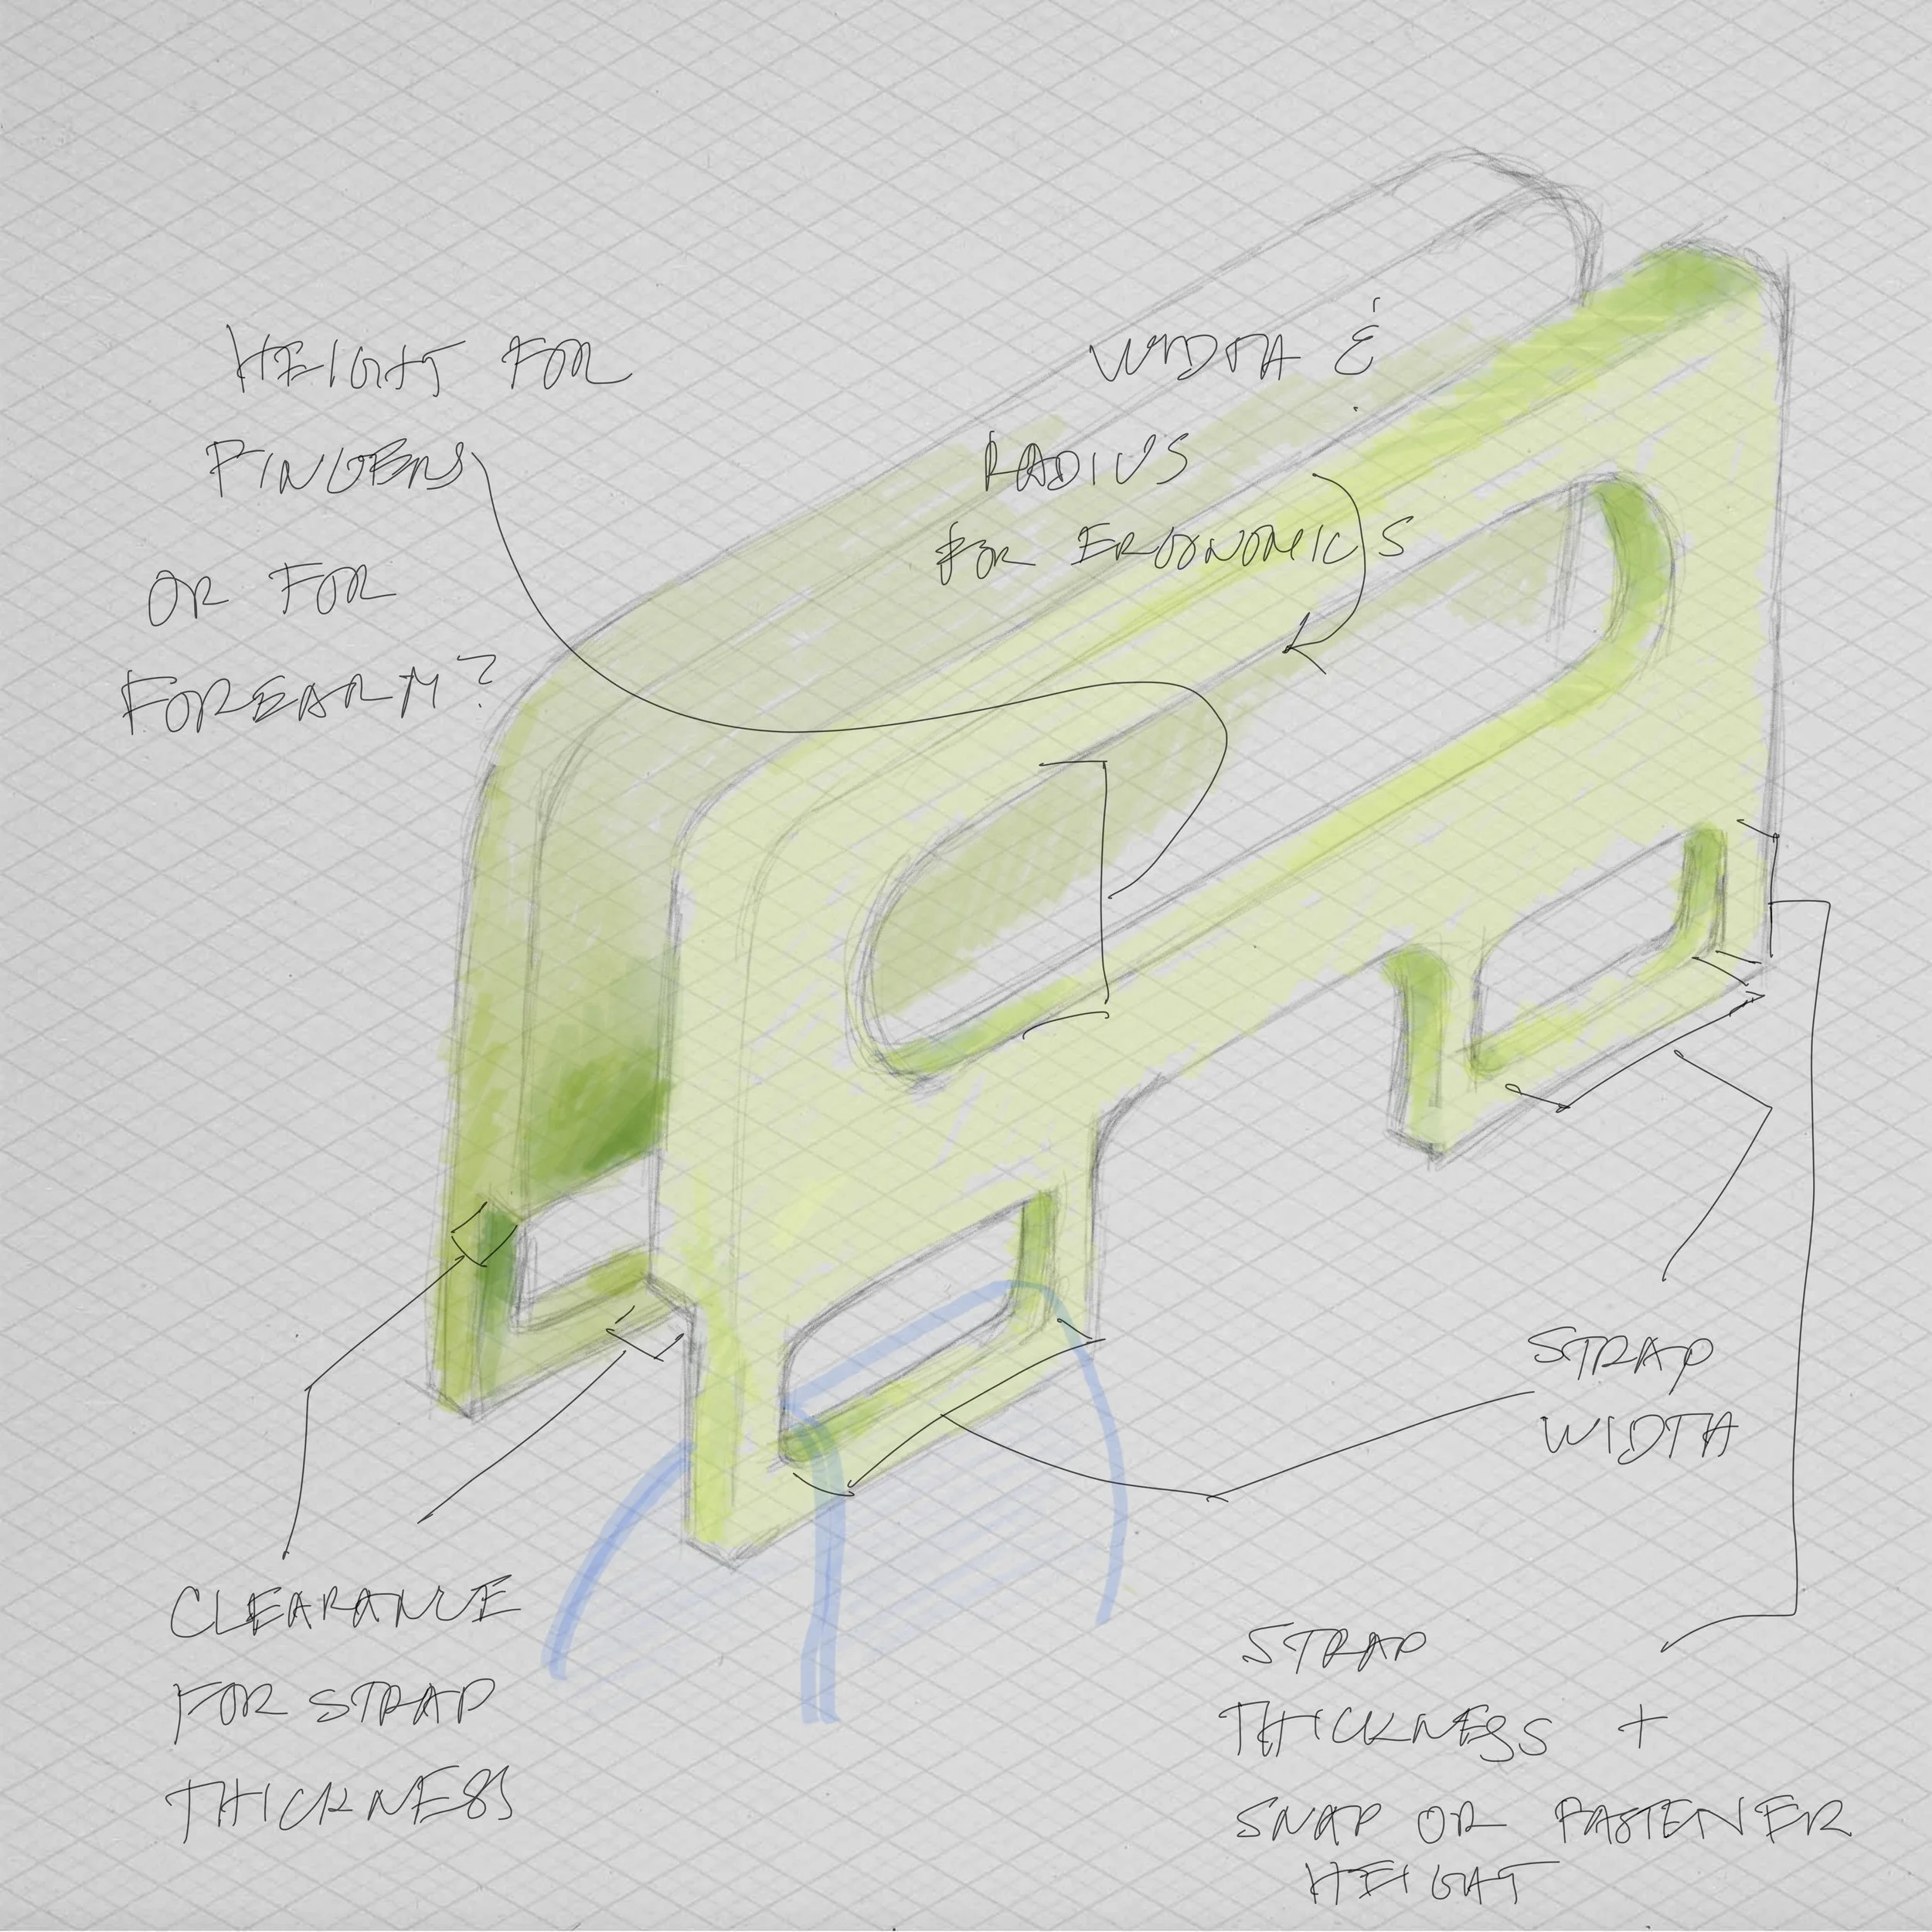
For the initial concept we talked through some ideas and after referencing some inspirational photos we came up with a design that was modern, yet functional, and hopefully ergonomic and comfortable. We planned for the attachment points based on the initial thinking we would use some sort of strap material.
Since most of the existing types that were of similar style were either made of acrylic or wood, we saw an opportunity to explore 3D printed handles. This not only let us explore different handle shapes, color, and size, but we could also incorporate embedded magnets to serve as a closure method in the handle itself. By embedding the magnets, this would lend to a more durable design for such a heavily used component of the purse.
Rapid prototyping leads to rapid iterations
Once we got an initial bag design down to try we stitched it up, added the handles, and was able to take it out on a test run. This helped us quickly learn what was working and what areas we wanted to explore further.
Some observations:
The reused denim (from a pair of old jeans) is not only a sustainable choice, but it also makes the bag feel less formal.
And the sashiko style stitching to patch the hole adds a nice pattern to the purse.
The direction of the square base made the opening nice and wide so you could see everything in the purse.
But changing the direction of the square base means you don’t have the option to tuck this purse under your arm (like a clutch).
Adding an additional magnetic closure on the inside of the bag itself means the contents of this bag are not going to spill out.
But not using an interfacing may have made this bag a little too shapeless.
All-in-all it was pretty amazing that within the course of a week you can go from concept to finished product for a bag design and custom purse handles. After talking the learnings through we’re going to make a second iteration of the purse handles. Of course, inspiration has struck on another bag design, so that part may change up in the next iteration.


