Embed magnets in 3D prints to add the element of surprise!
Have you ever wanted to add the element of surprise for your loved one, or friends, when giving a gift? We certainly did when designing a fun project for Christmas, the Lump of Coal. The goal was to create a reusable container that appeared to be a solid lump of coal. (“Was I naughty this year?”). Yet upon “cracking” it open a fun gift was revealed inside. Embedding magnets was the best way to achieve this and we have 3 tips that will help you on your next project.
It’s all about the layers
There’s nothing better than when someone looks at a piece you created and asks “how did you do that?!” This is when you know you’ve stepped up your game and improved your skills in a craft you are trying to master.
When it comes to 3D printing, it’s all about taking advantage of the layering process and the ability to pause a print to seal, or embed, objects. This may not be obvious to a beginner or hobbyist, but it can give your piece a more polished, seamless look.
When someone looks at your piece and asks “How did you do that?!”
Our top 3 tips for embedding magnets
Unlike externally mounting magnets with glue, embedding them assures they will stay in place, even with repeated use. To do this, a piece needs to be designed with the correct size cavity to accommodate whatever it is you’re trying to embed. You also need to pause the print process at the optimal stage in the build-up in order to insert the object you wish to embed.
Here’s our top 3 tips for embedding magnets in your next project:
1. Measure the magnets you intend to use so your cavities are the right size
Despite the advertised product sizes, the actual dimensions of the magnets are often different.
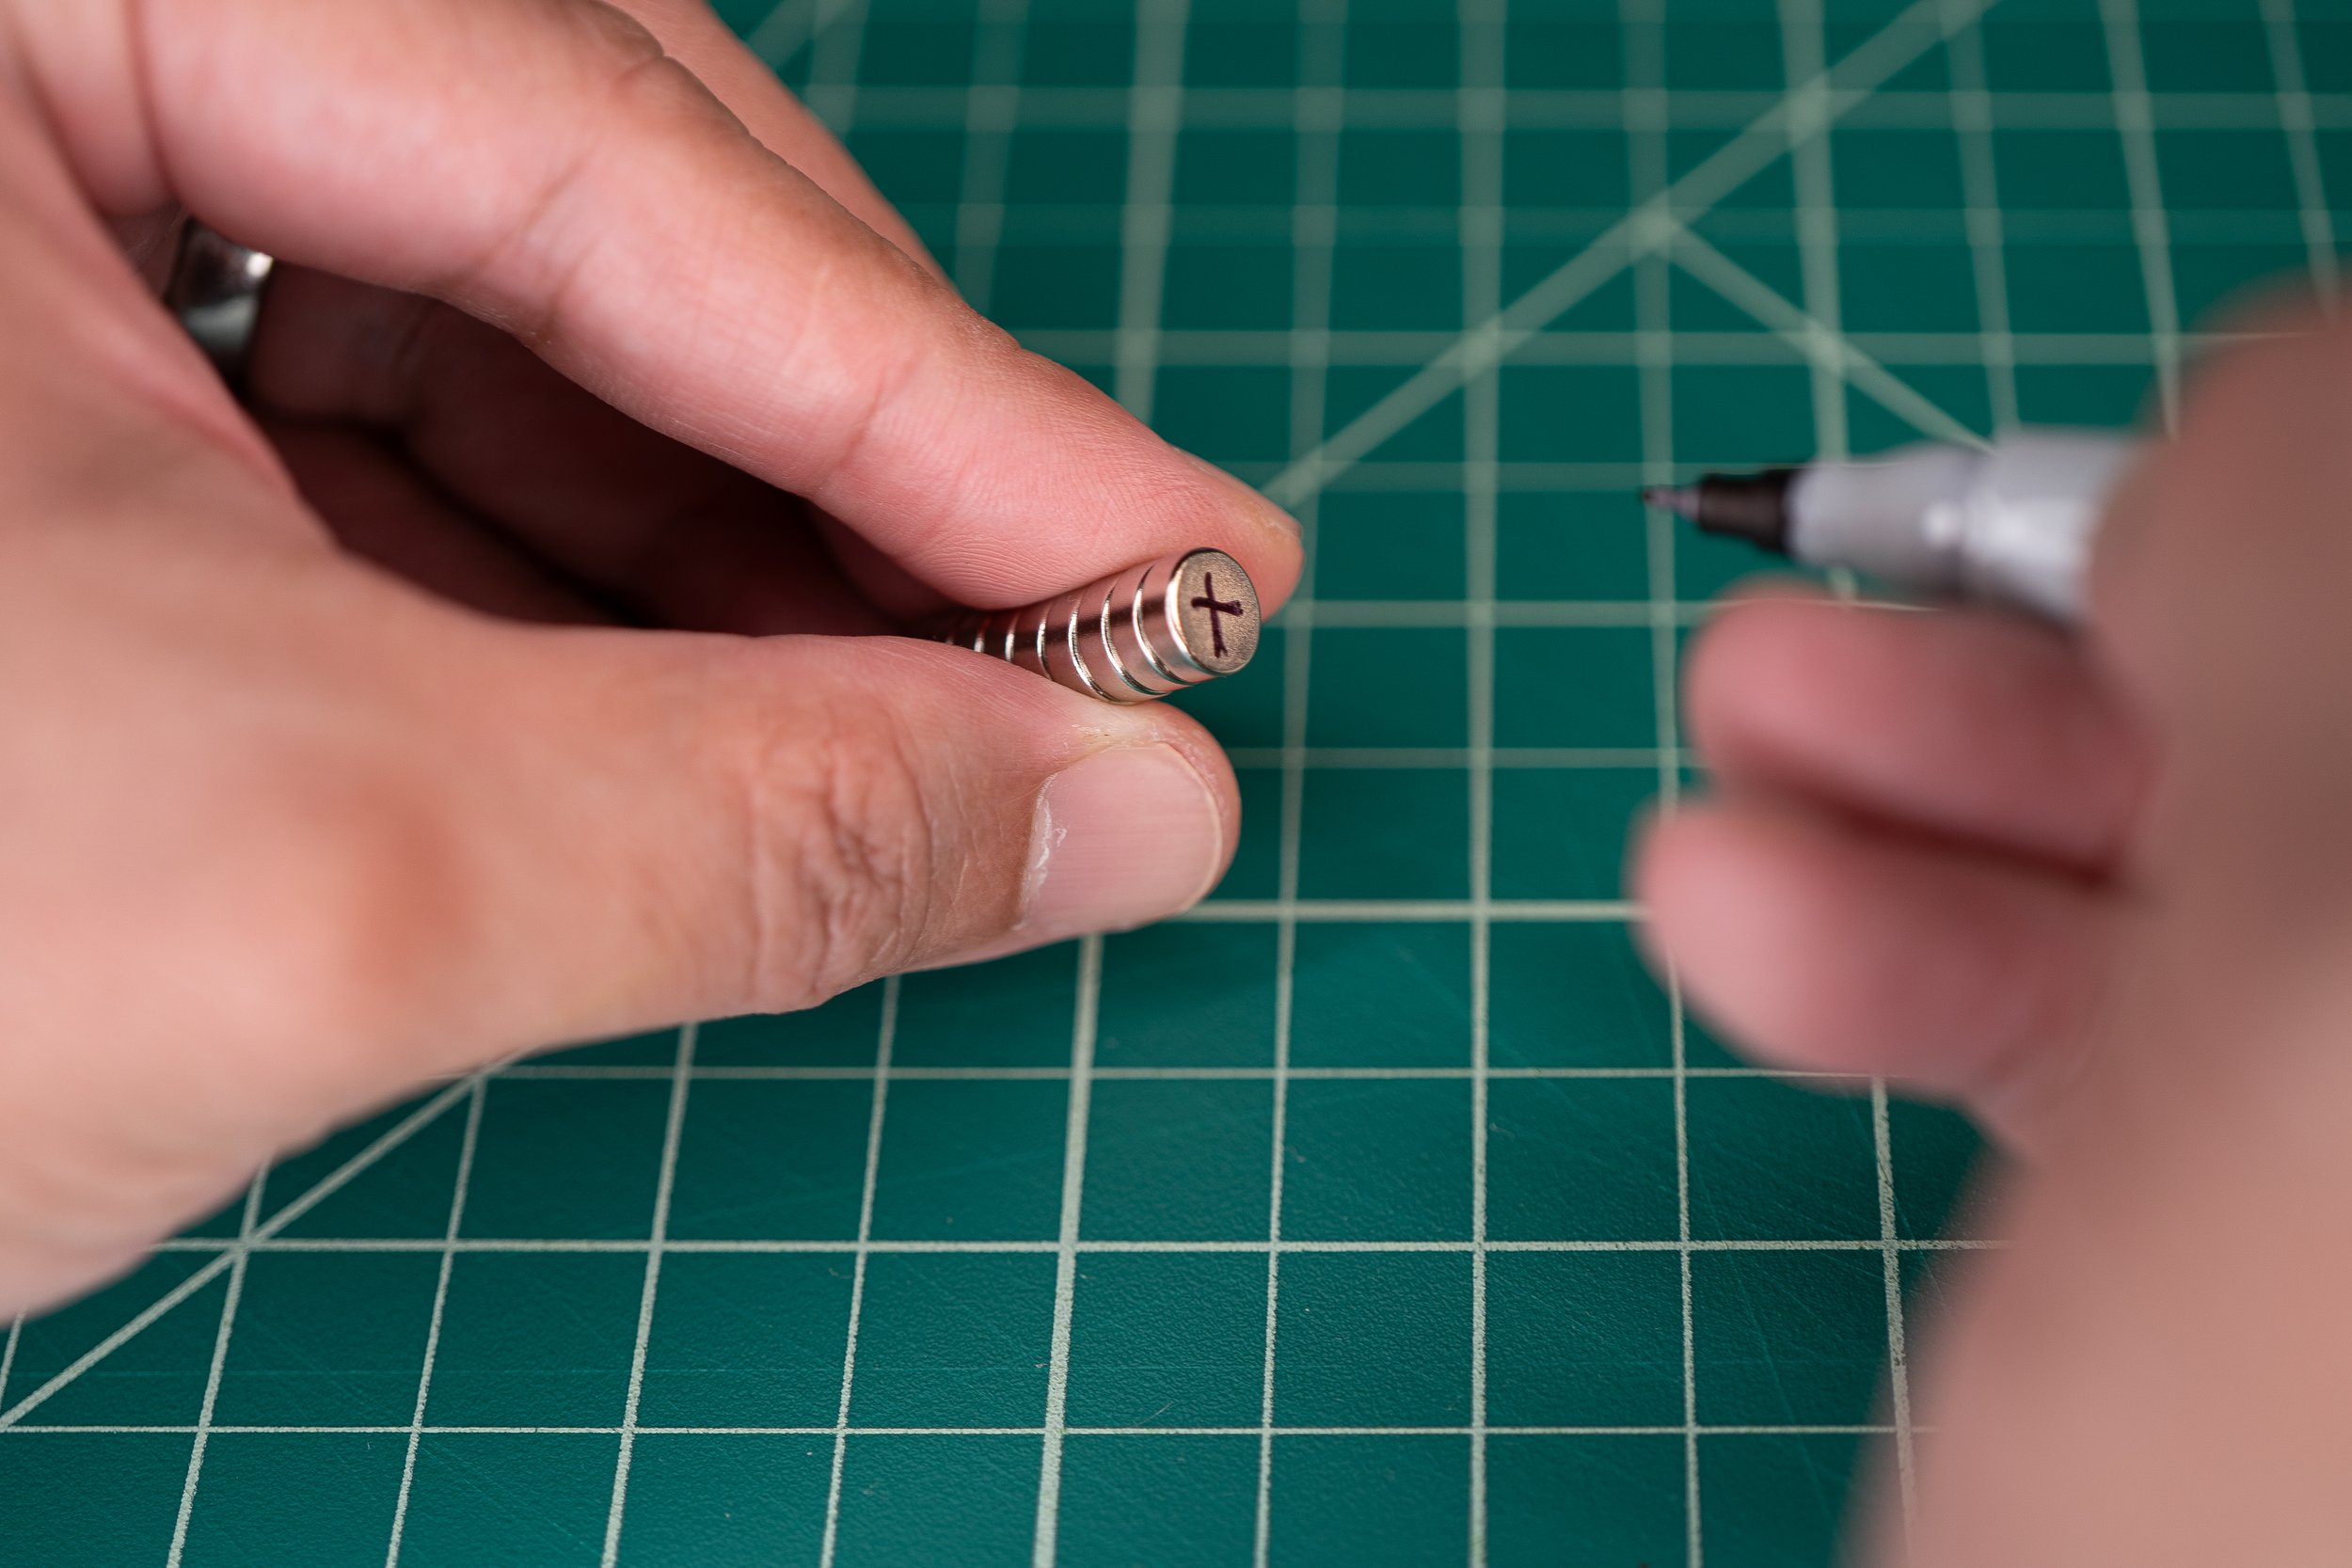
2. Mark an “X” on the top of the magnets where their polarities align
This assures you place the magnets in your pieces correctly and they will connect once you embed the magnets (& not repel each other).
3. Set your slicer to automatically pause
Do this at the layer before the cavity becomes fully enclosed. Not all slicers can do this, but it certainly makes your job easier. We are using Bambu Studio in this example.
If you’d like the full set of directions, you can view our video or take a look at our step-by-step guide . We’re here for you and always welcome your questions or feedback.


