


EXPLORATION
Magnets and 3D Prints
Part 2
As we touched on in our previous magnets video, embedding magnets in your 3D prints can be a great way to add functionality to them. Since then, we’ve actually learned a bit more, and in this video, we’ll share a few refinements to our recommendations and go over some new advice regarding the use of magnets that may help you get better results.
Reference files can be found in the Materials Reference accordion at the bottom of the page
Tools
As you work more with magnets, you might want to think about investing in a few tools that may make working with them a bit easier.

A pair of non-magnetic tweezers can really help when doing precision work with smaller magnets. There are a few types, including titanium, and reverse action. They’re affordable enough to try a few different styles to see which you like, or you may want to use different types for different situations.

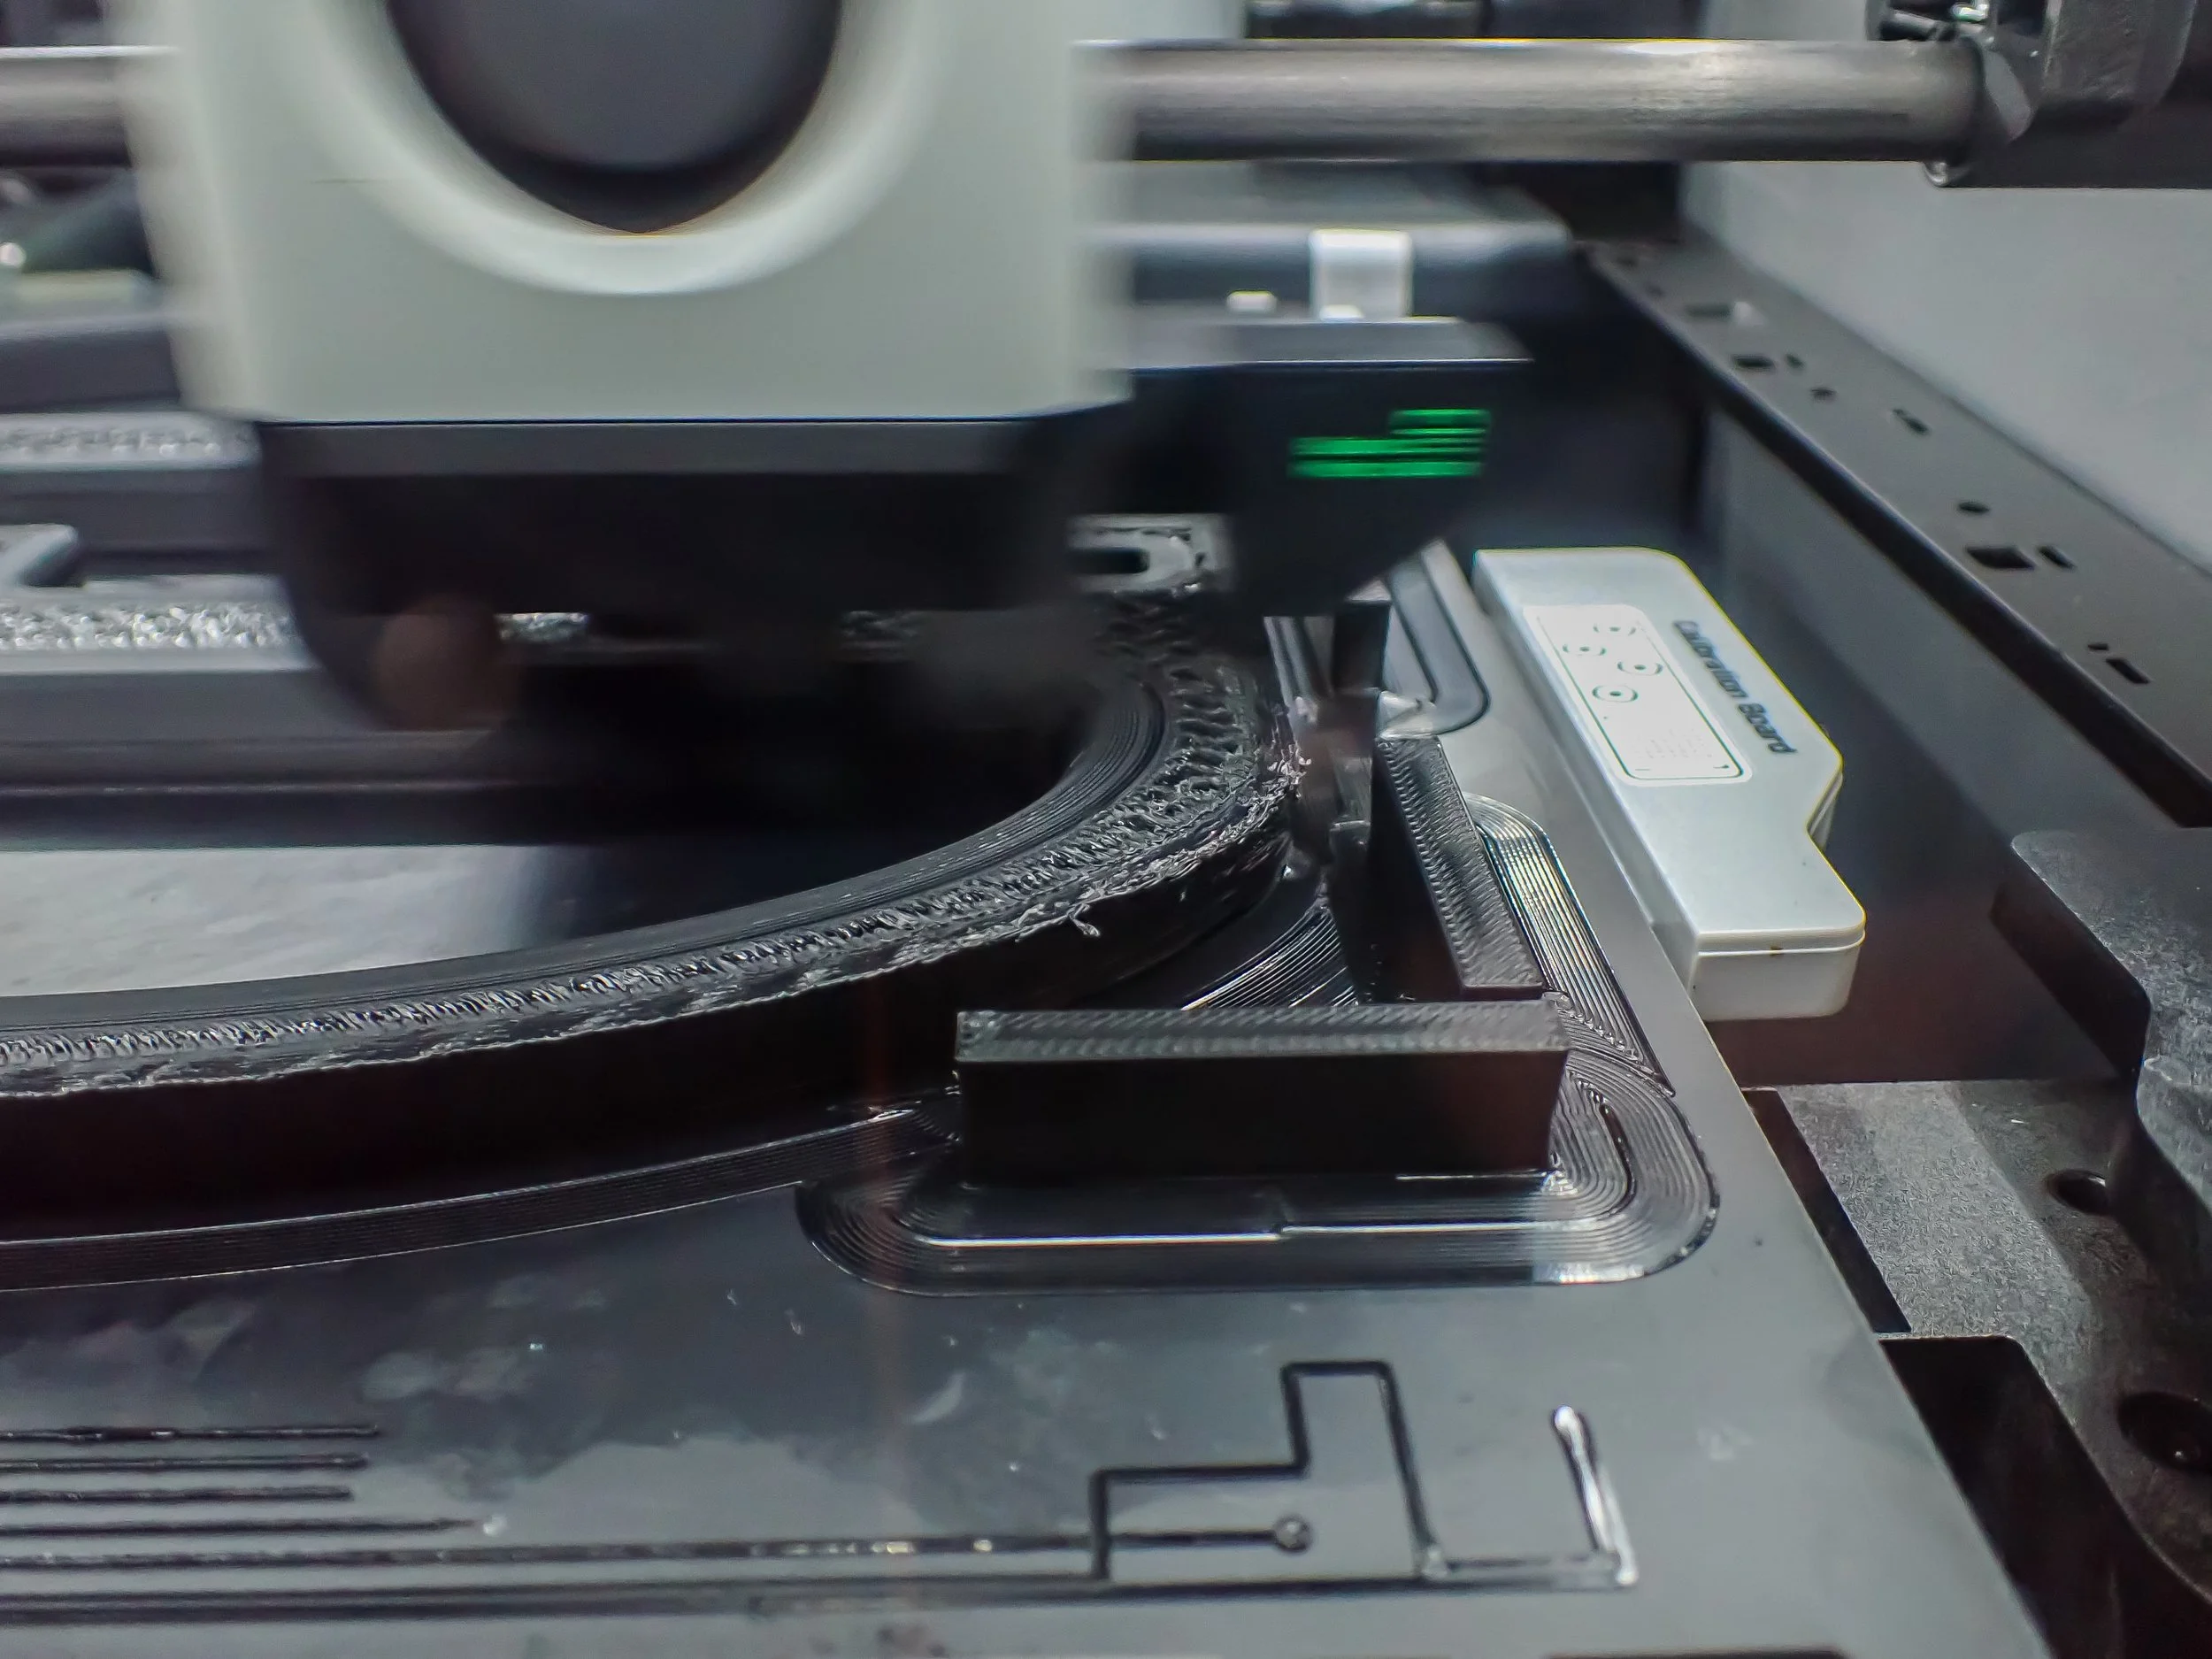
For anyone often working on projects with paired magnet sets, a magnetic polarity indicator will be critical. This tool can be used to find out what the polarity orientation of a magnet is; and helps to ensure they attract and/or repel as you intend them to.
We have two types, one is electronic, with a push-button activation and very clear red and green indicator lights that indicate detection of the north or south poles of the magnet. The other is a simpler 3 axis mechanical device, which is more delicate, but provides a quicker result.

Magnetic Viewing Film allows you to see the pattern of the magnetic field surrounding an object. This can help to determine the reason for an object’s loss of magnetic properties.
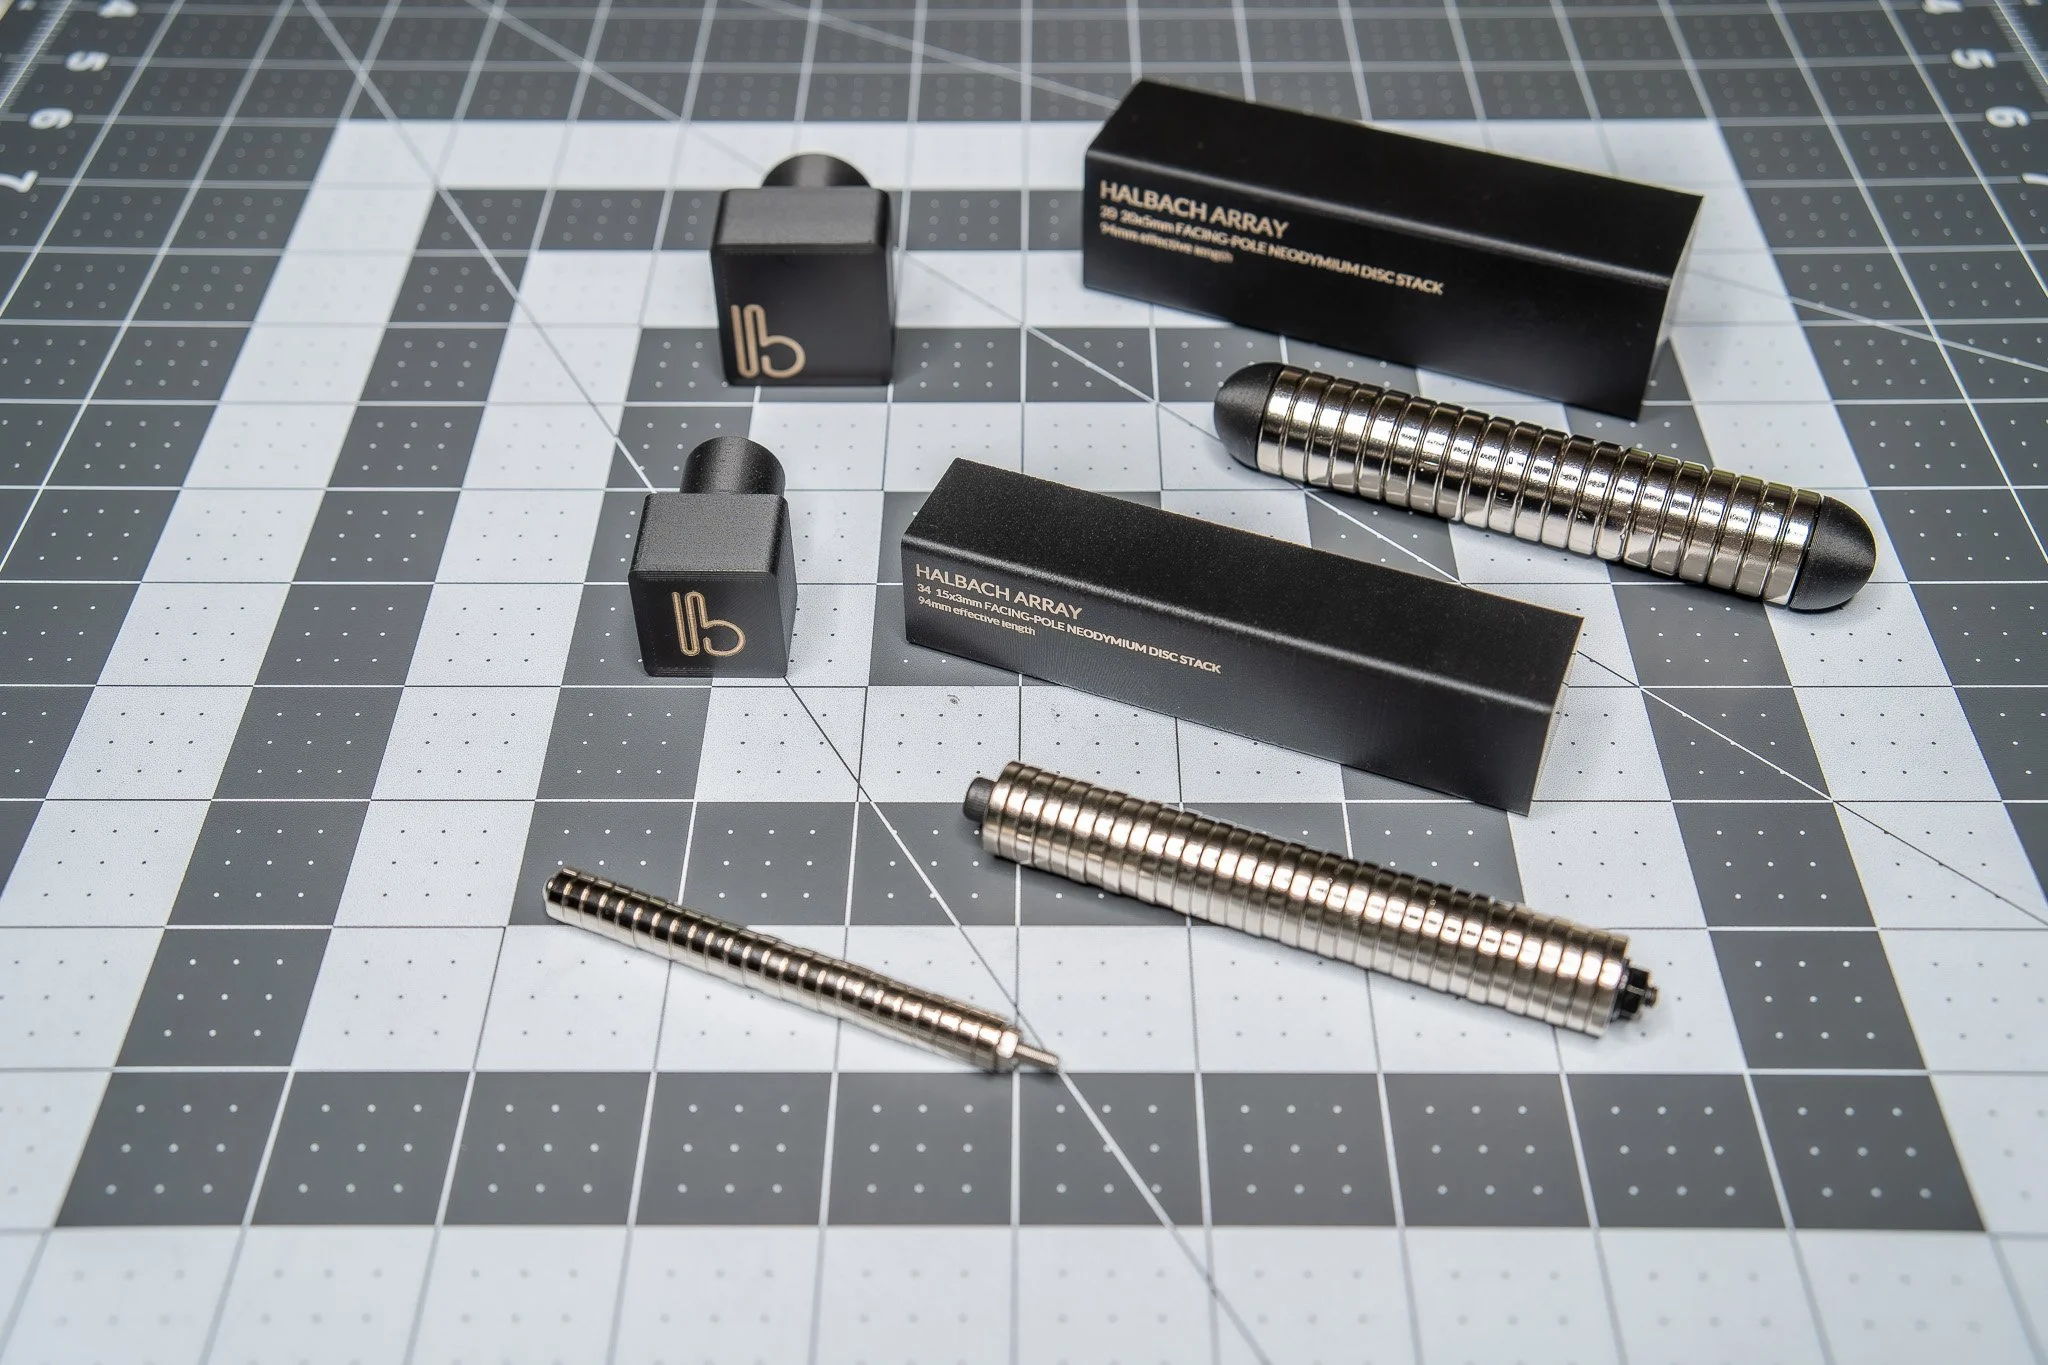
An alternating polarity magnet stack can remagnetize a print bed that has lost its magnetic properties. You can build one of these with a set of ring magnets, a long bolt, and a nut.
*UPDATE: These tools are actually NOT a Halbach arrays, but simpler alternating polarity stacks. Halbach arrays consist of a series of magnets who’s polarities arranged in a specific multi-directional format that gives the arrangement a very strong pull from one direction. More info on the difference here.

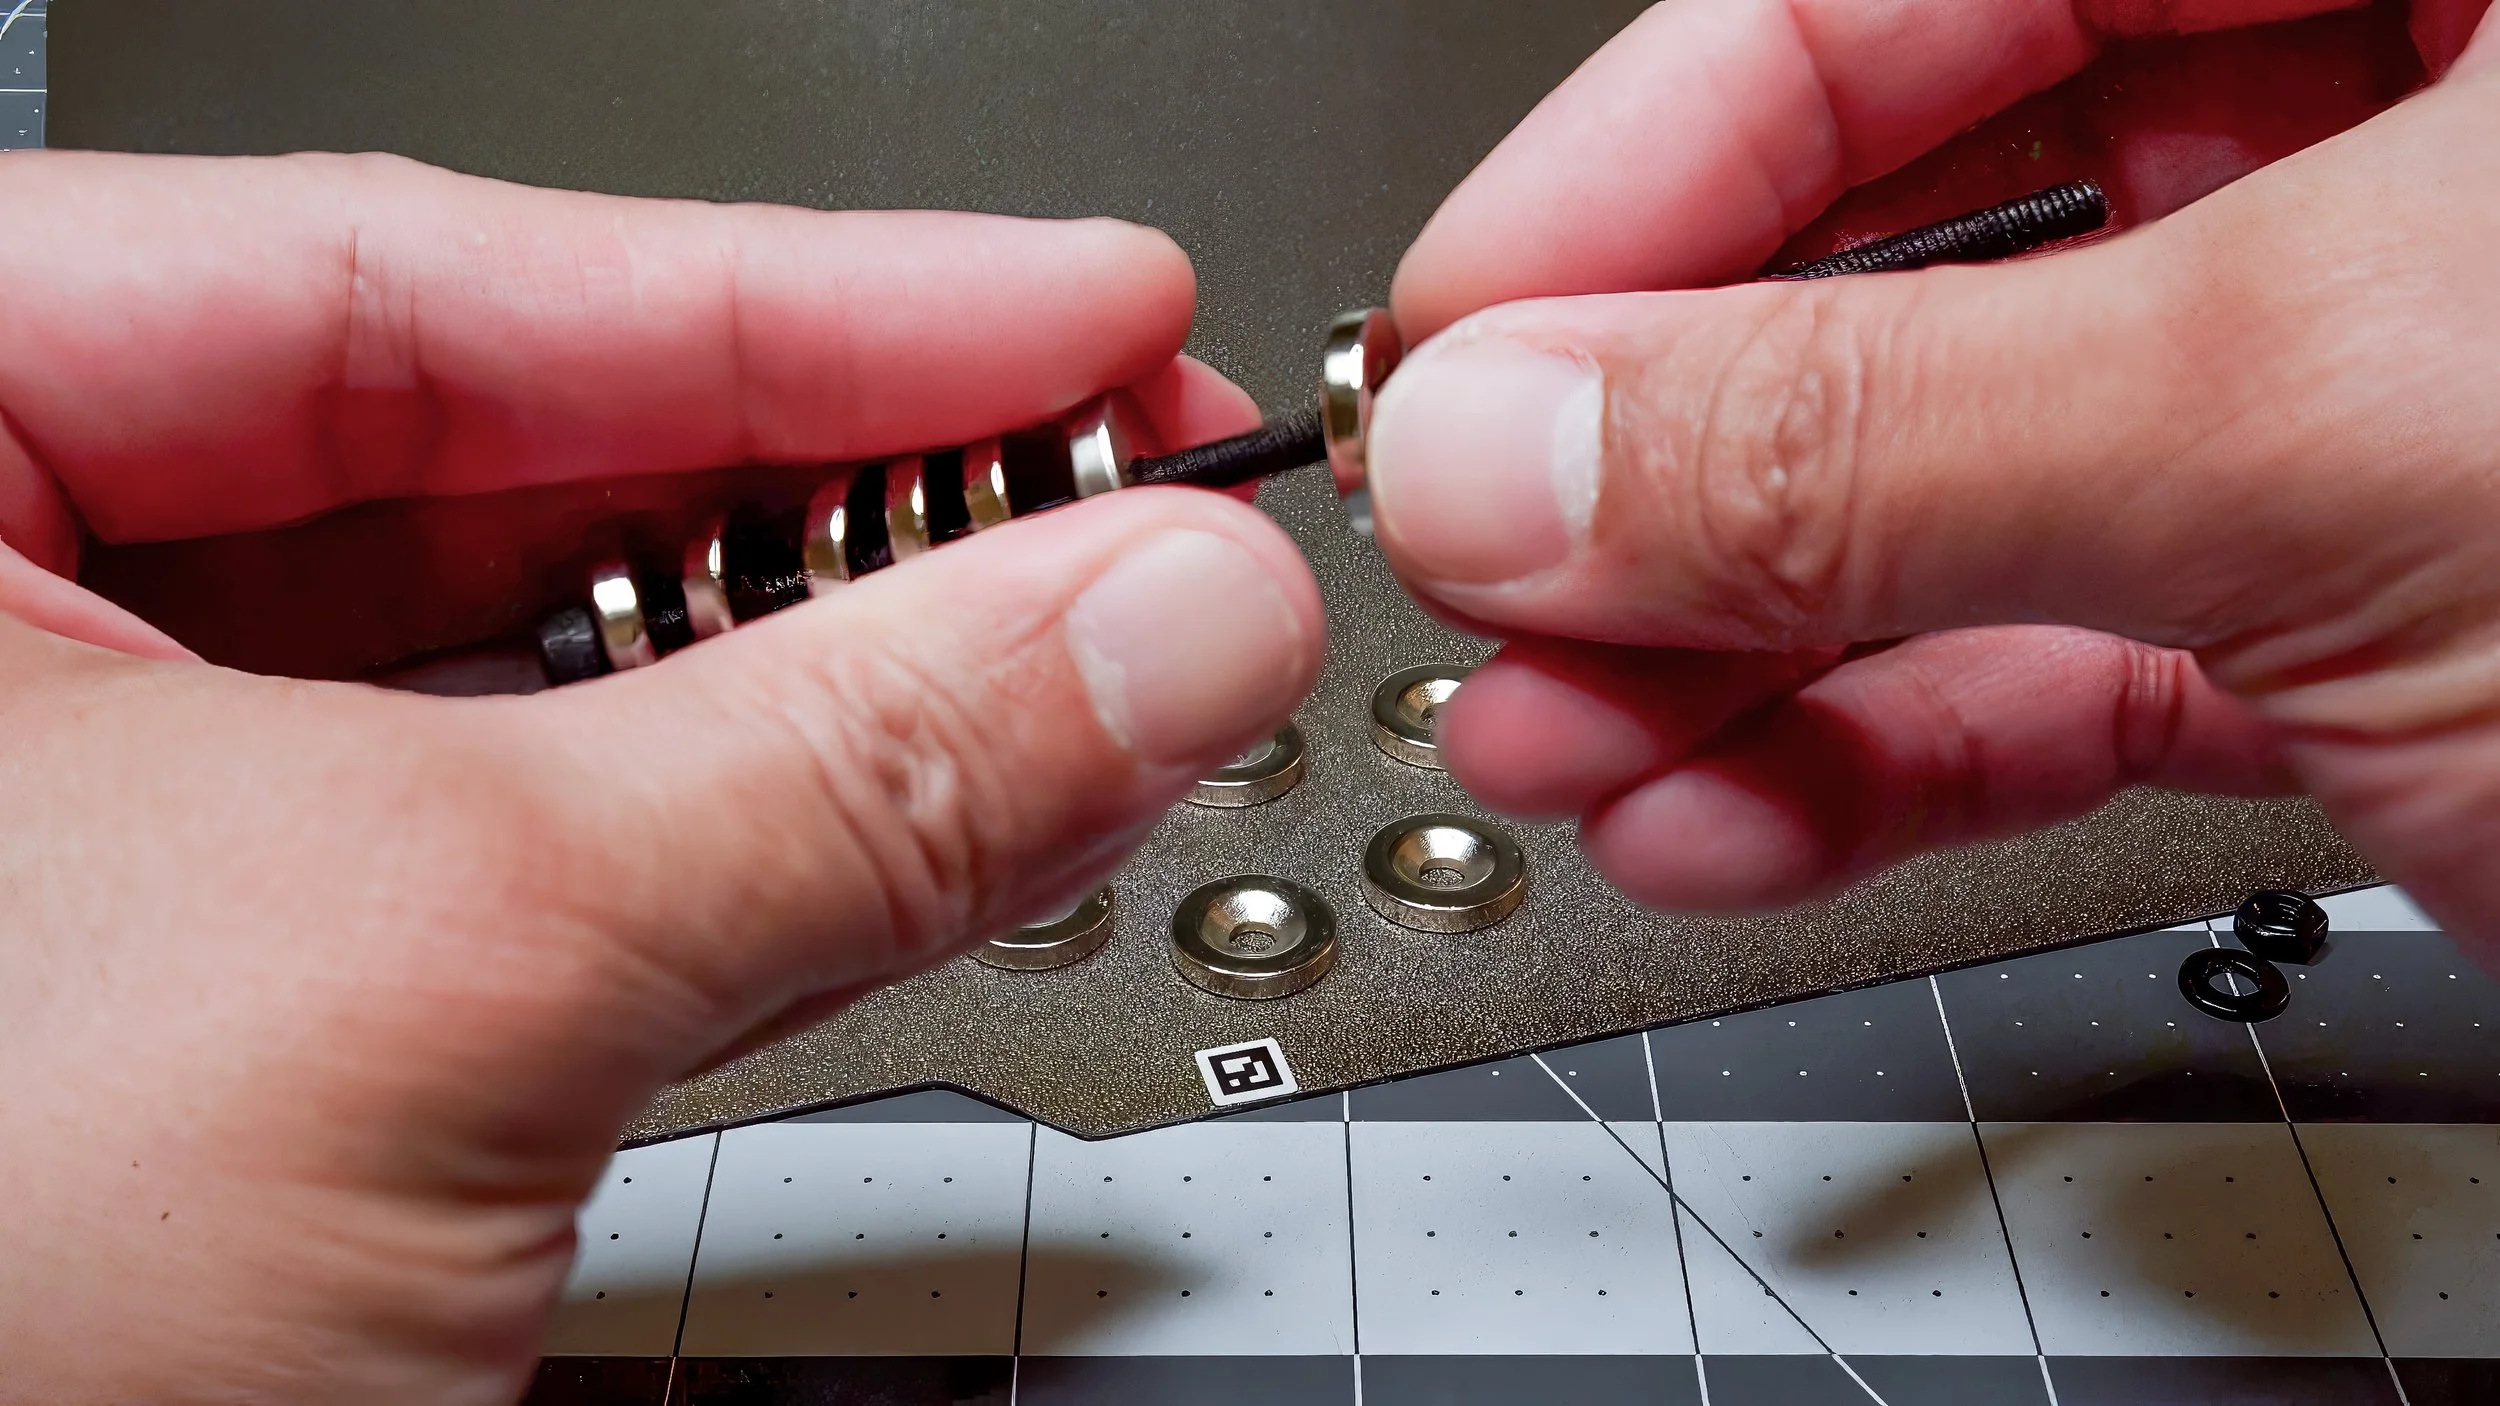
A magnet labeling tool can make it easier to label the poles of your project’s magnets. Simply place the magnet you want to label on to the corresponding section of the surface, ensure that it’s centered on the appropriate markings, then use a sharpie to label that side of the magnet. We’ll post the project files for the one we made which incorporate the shapes and sizes we’ve been using the most.
The Magnetic Printer Bed
Our investigation into a quality issue we were encountering

We were printing some projects that included paired magnets in the design, and sometimes, one corner seemed to be lifting off of the build plate more often than other parts that were the same or similar in shape or configuration. We were using a Bambu X-1 Carbon, which has a fully enclosed, temperature controlled print chamber, so assuming we had all print settings optimally set, this was both frustrating and concerning.
After making sure we had dried the filament to eliminate excess moisture as a variable, we had a few theories, but one of our theories involved the print bed itself. After all, the printer’s bed was magnetic as well. Could the bed’s magnets sometimes be repelling the magnets in the print?

First, we removed the build plate and placed a few different magnets of different sizes and shapes directly on the bed. We started with the rectangular 60 x 10 x 3 millimeter size we were using in our most recent project.
As we pushed the magnet across the bed from front to back, parts of the magnetic bed visibly repelled the rectangular magnet as it passed over them.
The effect was not quite as prominent with the shorter 30 x 10 x 3 millimeter magnets, but still significant.

We also tried different sizes of round magnets. With them, we noticed that we were encountering an evenly-spaced magnetic field when pushing them from front to back or from the back to the front. But the magnets moved smoothly when pushed from left to right or vice versa. This was confirmed when we looked at the field pattern with the viewing film; the bed has an alternating polarity arrangement. This field pattern is different from most magnets, which have a single north and south pole, including the neodymium magnets we use in our projects.

It should be noted that when the build plates are on the bed, the repelling effect is greatly diminished, and almost unnoticeable. Thicker or heavier plates (plates likely containing more steel) also reduce the effect even more.
But we theorize that if your print may already be prone to warping or having bed adhesion issues, and you also happen to be embedding a magnet that has an opposing polarity to a region of the bed directly below it, that slight repelling effect could be enough to dislodge that corner of the print from the bed.
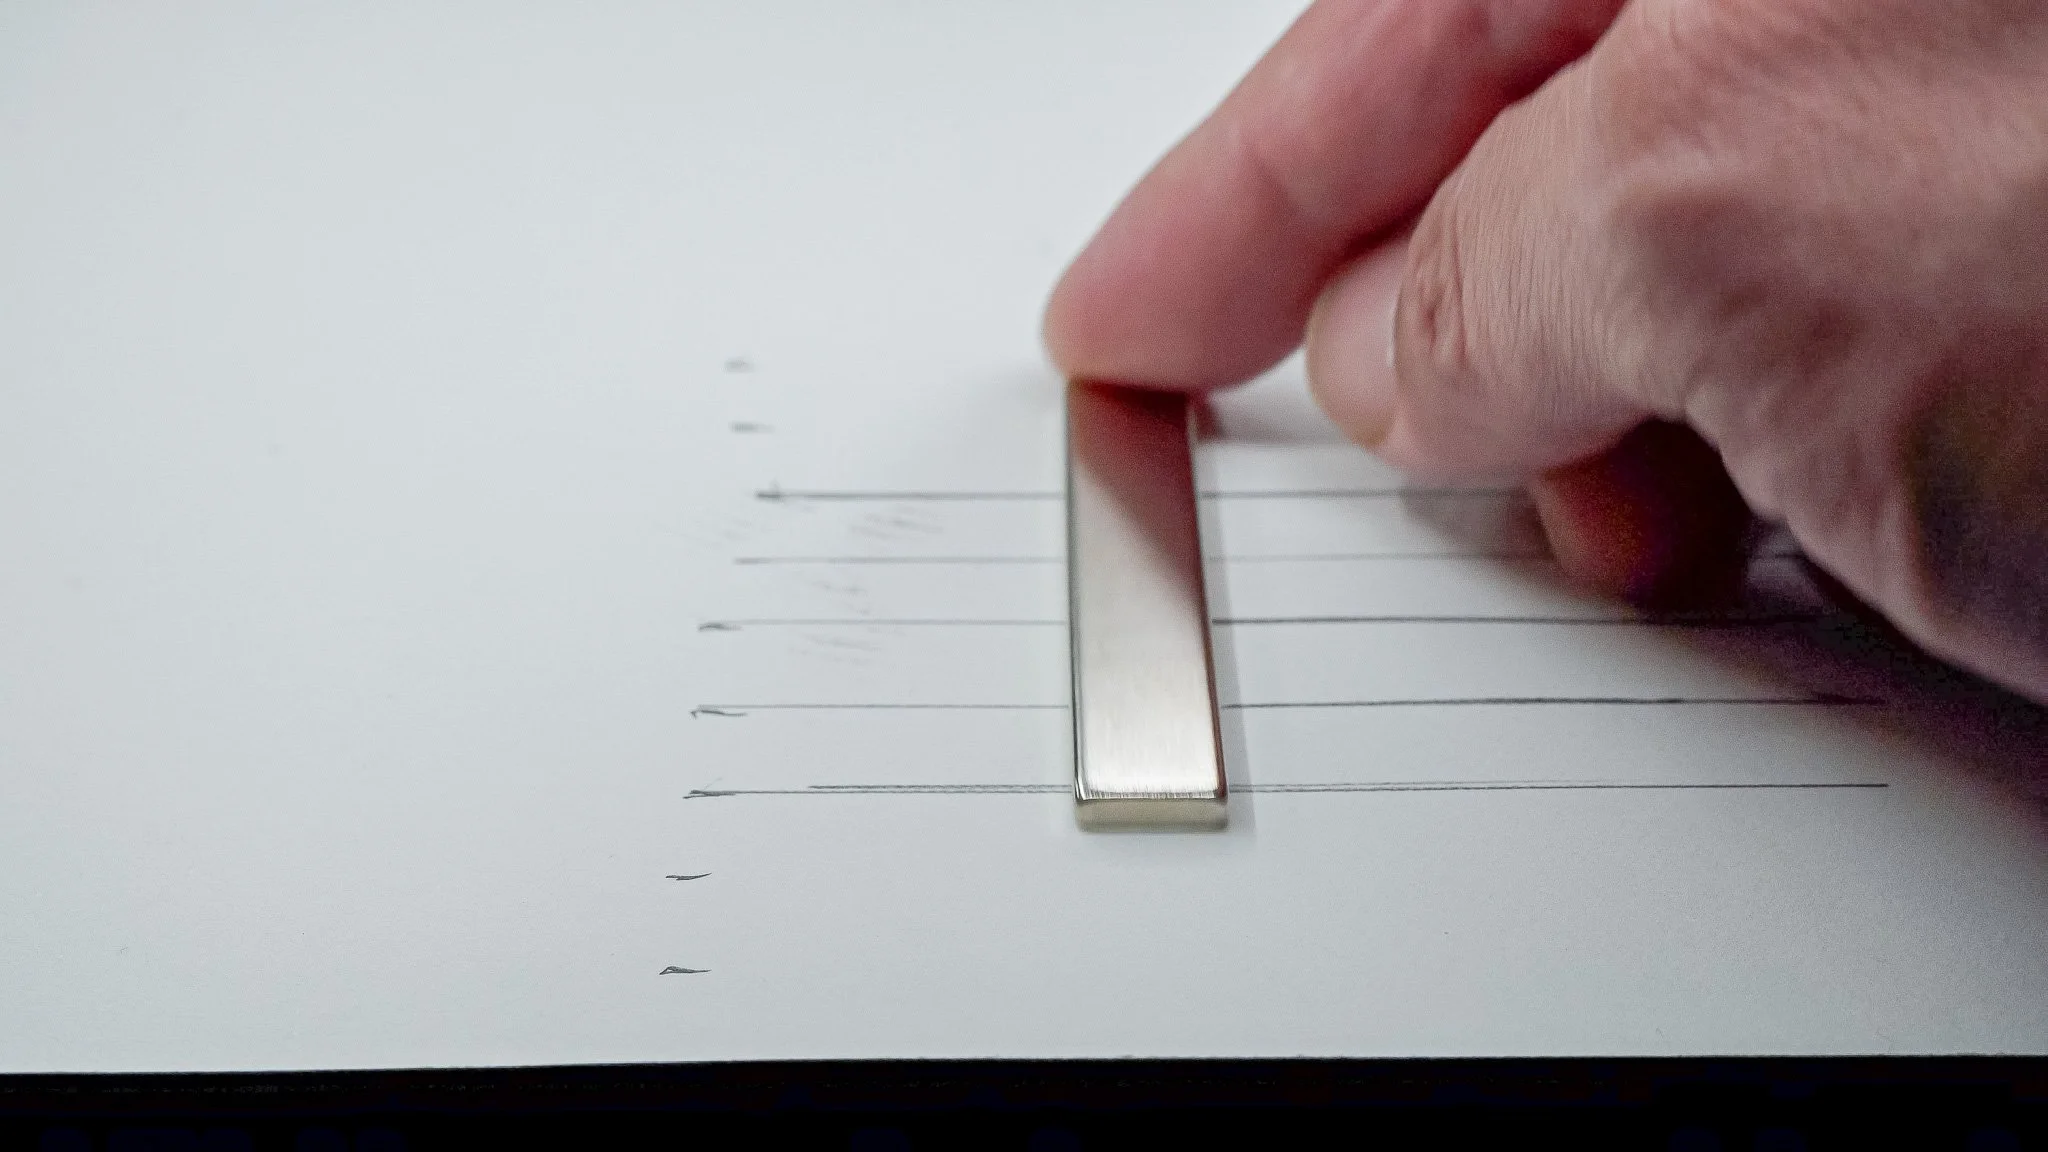
We also discovered that the repelling effect with the rectangular magnets was greatly decreased when they were oriented perpendicular to the bed magnet field pattern.
And incidentally, through the course of our research, we ended up demagnetizing our X1’s print bed!
We’ll talk more later about how we ended up fixing that.
Conclusions and Recommendations
What we learned and some suggestions we have

If you are using rectangular magnets, orient the print so that the embedded magnets will be perpendicular to the bed’s field pattern. In other words, if the field pattern is horizontal, longer magnets should be oriented pointing front to back.

It may be good to adopt a default pole orientation to the magnets you use. For instance, if you want magnets used in a project series always arranged to attract, you can establish a rule of thumb that the north or N pole of the magnets should either point to the top, front, or right of your project. This will help ensure that any new projects you create that are related to former projects, will have magnet configurations that will be compatible.

If you have magnet sizes that you often use, creating a quick polarity identifier tool could be very useful. For ours, we chose four types, confirmed and marked their polarity orientation, then embedded them in a plate which we use to quickly label magnets before use.

If you have a print containing a section that has been warping upward and resisting bed adhesion despite your use of a brim, using a magnet may be an effective solution. The next time you attempt to print the project, add an additional object into the slicer file that would serve as a cradle for a magnet. Here, we've made a cradle for a 20 x 3 round magnet. Place the cradle as close to your project as possible without affecting its integrity.

Make sure that your project’s brim and the cradle’s brim are unified in that area. Pause the printer at the layer height just after the cradle has been completed, then place the appropriate magnet into the cradle. Make sure that the magnet is oriented so that it is attracted by the bed's field, and not repelled. Then resume the print. Hopefully, this additional plate contact point with the adhesion power of the magnet will be able to keep the stubborn area firmly in place. Be aware that the magnet may also be an additional area of heat retention if your bed is heated.

If the problem persists, and you are willing to do some additional finishing work on your project, you can add a runner or sprue physically connecting your project’s problem area with the magnet cradle. You can clip the connection after your project finishes printing.

And finally, DO NOT put strong magnets directly onto your print bed without a build-plate in between! It will jumble the factory-applied alternating polarity array and will effectively de-magnetize your bed; which will remove its ability to securely hold your build plate during printing. To get a better sense of your print bed’s magnetic field pattern, use magnetic viewing film instead.

We had printed dozens of projects that included magnets and never had a problem, but as soon as we began placing magnets directly on the magnetic bed with no build plate or filament material in between, we noticed that the build plate would no longer securely stick to the bed.
Luckily, our research also led us to a solution to re-magnetize the bed. We sourced a set of 15 x 3 mm ring magnets and stacked them together in alternating polarity so that each magnet repelled the ones next to it. We threaded them onto a 100 mm long M4 bolt.
As you add more ring magnets, you'll need to press them all down to make room for the rest. The feeling will be similar to compressing a spring. Always keep a firm grip on the one at the end. Otherwise, you may have magnets flying across the room. A nut and a washer keeps them all flush and compressed together.

Once constructed, you can use this tool to remagnetize a print bed (or any other flexible pad magnet) that has lost its magnetism. Simply roll the tool laterally and evenly across the print bed, repeating the process and going in the same direction, until you’ve covered the entire surface. This should remagnetize the bed to a working state.

Initially we tried 10 mm ring magnets. Then we tried 15 mm, and they seemed to result in a stronger magnetic effect. We suspect that 20 mm ring magnets may work even better.
*UPDATE: This tool is actually NOT a Halbach array, but a simpler alternating polarity stack. Halbach arrays consist of a series of magnets who’s polarities arranged in a specific multi-directional format that gives the arrangement a very strong pull from one direction. More info on the difference here.

After replacing the build plate, it should be apparent that the magnetic strength has been restored. And it should again take a significant amount of effort to pull the plate out laterally. The plate should now stay in place even during high speed printing.
Though if all else fails, Bambu does carry replacement heatbed surface magnets with factory fresh magnetic charges. Installation isn’t exactly bolt-on, but at least you don’t have to remove the bed from the machine.
-
If you are interested in what we used for this process, you can find our materials below.
Hardware:
Bambu X1 Carbon
Bambu Textured Plate
WhamBam 258 x 258 Flexi Plate with Pre-Installed PEX Build Surface
xTool F1
Software:
Shapr3D Version 5.590.0 (6756)
Bambu Studio 1.8.4.51
xTool Creative Space
Materials:
Matte Black PLA
Brown PLA
For Alternating Polarity Stacks:
32 15 x 3 mm ring magnets
M4 x 100mm bolt and nut
20 20 x 5 mm ring magnets
M5 x 100mm bolt and nut
For Magnet Labeling Tool:
20 x 3 mm disc magnet
10 x 3 mm cylinder magnet
60 x 10 x 3 mm rectangular magnet
30 x 10 x 3 mm rectangular magnet
Fabrication Files:
Magnet labeling tool (zip file, 366kb)
-
*Please remember that using lasers on synthetic materials always runs the risk of putting harmful chemicals into the air. So, before beginning, don't forget to ensure that you have proper ventilation and to use hoods and air filtration whenever possible.