
2024 Burning Questions

In 2024, we focused many of our experiments and projects on how a laser engraver can be used in conjunction with 3D printing. We explored a range of applications from permanent surface treatment of durable graphics, to precision cutting of fabric and other substrates to facilitate integration with a 3D print.
We learned a lot and shared what we learned along the way with the community. Thank you to everyone who took the time to leave us tips, tricks, and most importantly questions. They challenged us to grow our skills and knowledge. Looking back on our videos and content we realized we got a lot of the same questions throughout the year when it comes to 3D printing & laser engraving. So we thought it might be helpful if we consolidated some of them into one page.
How does laser engraving turn a 3D printed piece a different color?
Lasers can affect different materials in different ways. With an IR laser, one of the most common results is foaming. This is when the laser makes contact with the surface, and simultaneously melts and bubbles it. This foamed material dries and hardens near instantly and is almost always lighter than the original color of the material.
With some plastics, laser contact can result in a burning or darkening of the material; and still with some, the laser may have no visible effect. All this is determined by a number of factors, some of which include the laser’s wavelength, the laser’s power output, the type of material, the formulation of the material, and the color of the material.

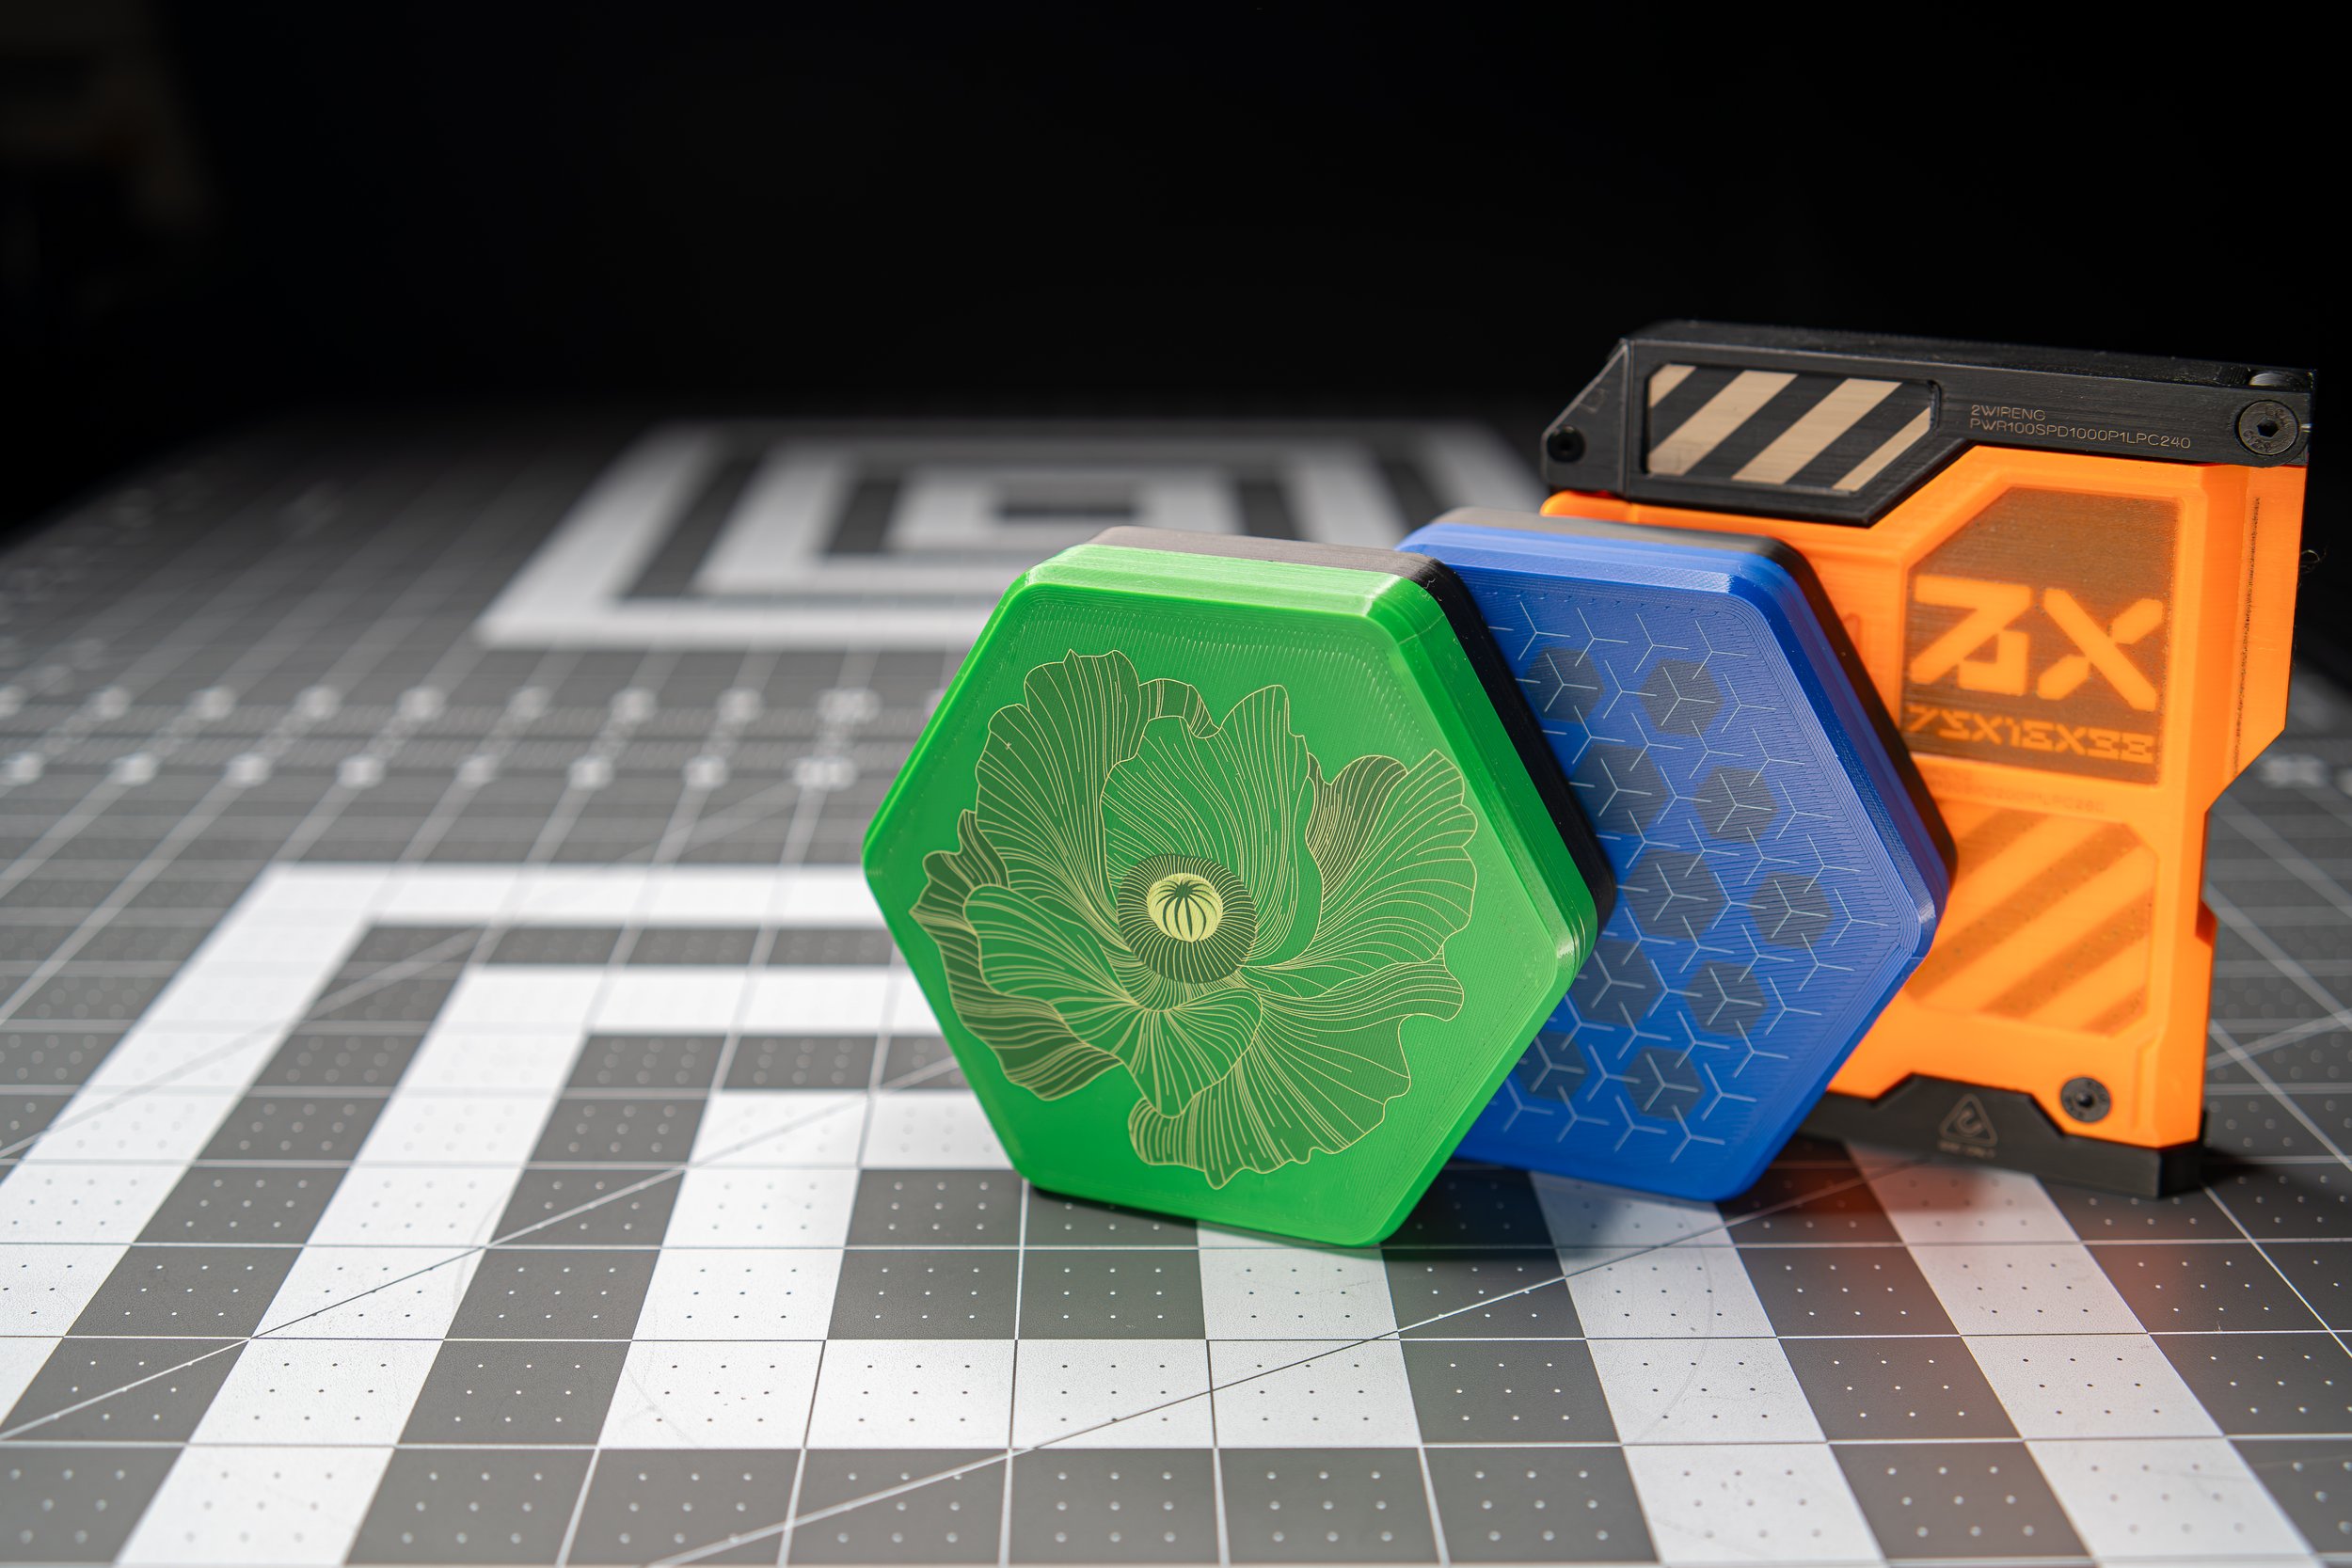
From our experience, we’ve found that if an IR laser has an effect on PLA, it will most likely result in light-colored foaming. Though with some colors of PLA (especially many lighter oranges and reds), there’s no detectable effect.
We’ve got some good examples of this in our Laser Engraving 3D Print Part 2
With PETG, an IR laser seems to have an effect on more colors than with PLA. Also with PETG, some settings result in lighter markings, while some result in a darkening of the material.
You can check out some of our PETG tests in our Fall Updates video.
With light colored ABS, we found that the IR laser tended to make dark markings, while with dark colored ABS, the IR laser made lighter markings. Admittedly, we’ve tested much fewer examples of ABS, compared to PLA and PETG.

We should also note that on most materials that it had an effect on, the blue diode laser evaporated or melted what it came in contact with.
Because each specific filament — even the same type of material in the same color but from different manufacturers — will react differently to contact with the lasers, it’s best to print a tile of that material to run a test with a spectrum of settings with the laser machine you intend to use.
We’ve got some laser engraving test files you can use on your test tiles. There are some for the xToolF1 and the xTool Ultra
And…what is that tool?
So many of our viewers have spotted tools we use in our videos for various phases of the 3D printing process and asked us “… what is that tool?” We thought we’d share a few tips along with links on where to find some of these tools if you are interested in using them too.
NOTE: we are not affiliated with any of these brands, just sharing what we like to use.

Heat set inserts and press.
Heat set inserts allow assembly and disassembly without erosion or degradation of the plastic due to screw or bolt threads. These can facilitate repair or modification of a project, prolonging the life of the item.
A heat set insert press is used to heat a threaded insert to the melting point of the material it’s intended to be inserted into, so that it can be pushed into that material and allowed to fuse with it.
Pro tip: stop a few millimeters of pushing it all the way in with the insert press, then use a flat metal tool to finish pressing it in.

Trapezoidal ruler
Anything with a flat, metal surface can be used to do the final press of the heat inserts. It just needs to be wider than the top face of the insert being used, and small enough so that it can make full, flat contact with the surrounding material of the face that the insert is going into.
Often we’ve used a solid titanium, trapezoidal ruler we got from CountyComm.

Non-magnetic Tweezers
A pair of non-magnetic tweezers can really help when doing precision work with small magnets. There are a few types, including titanium, and reverse action. They’re affordable enough to try a few different styles to see which you like, or you may want to use different types for different situations.