


EXPLORATION
ideaCam S1 Pro Potential
We go over additional details regarding our experience with the BenQ ideaCam S1 Pro. We give our honest impressions, and also share some ideas we have around ways we’ve found to enhance our experience using the device.
Reference files can be found in the Materials Reference accordion at the bottom of the page
Our experience with the camera
We put the ideaCam S1 Pro to use

It looks like the ideaCam S1 been designed primarily to be set on top of a monitor, and includes a counterweight on the camera base to make sure the camera doesn’t fall forward even while adjusting its angle. But that base does incorporate a standard ¼” attachment point, so it’s compatible with almost any tripod out there.

But the camera unit itself also has an interesting magnetic mount point. We suspect that it was designed this way to facilitate the ability to quickly pick up re-place onto the base. This allows for a quick transition between standard and macro mode usage.
The software also supports this action by automatically switching display orientation based on the tilt of the camera.
For more information on the BenQ ideaCam S1 Pro, click here.
Creating useful accessories
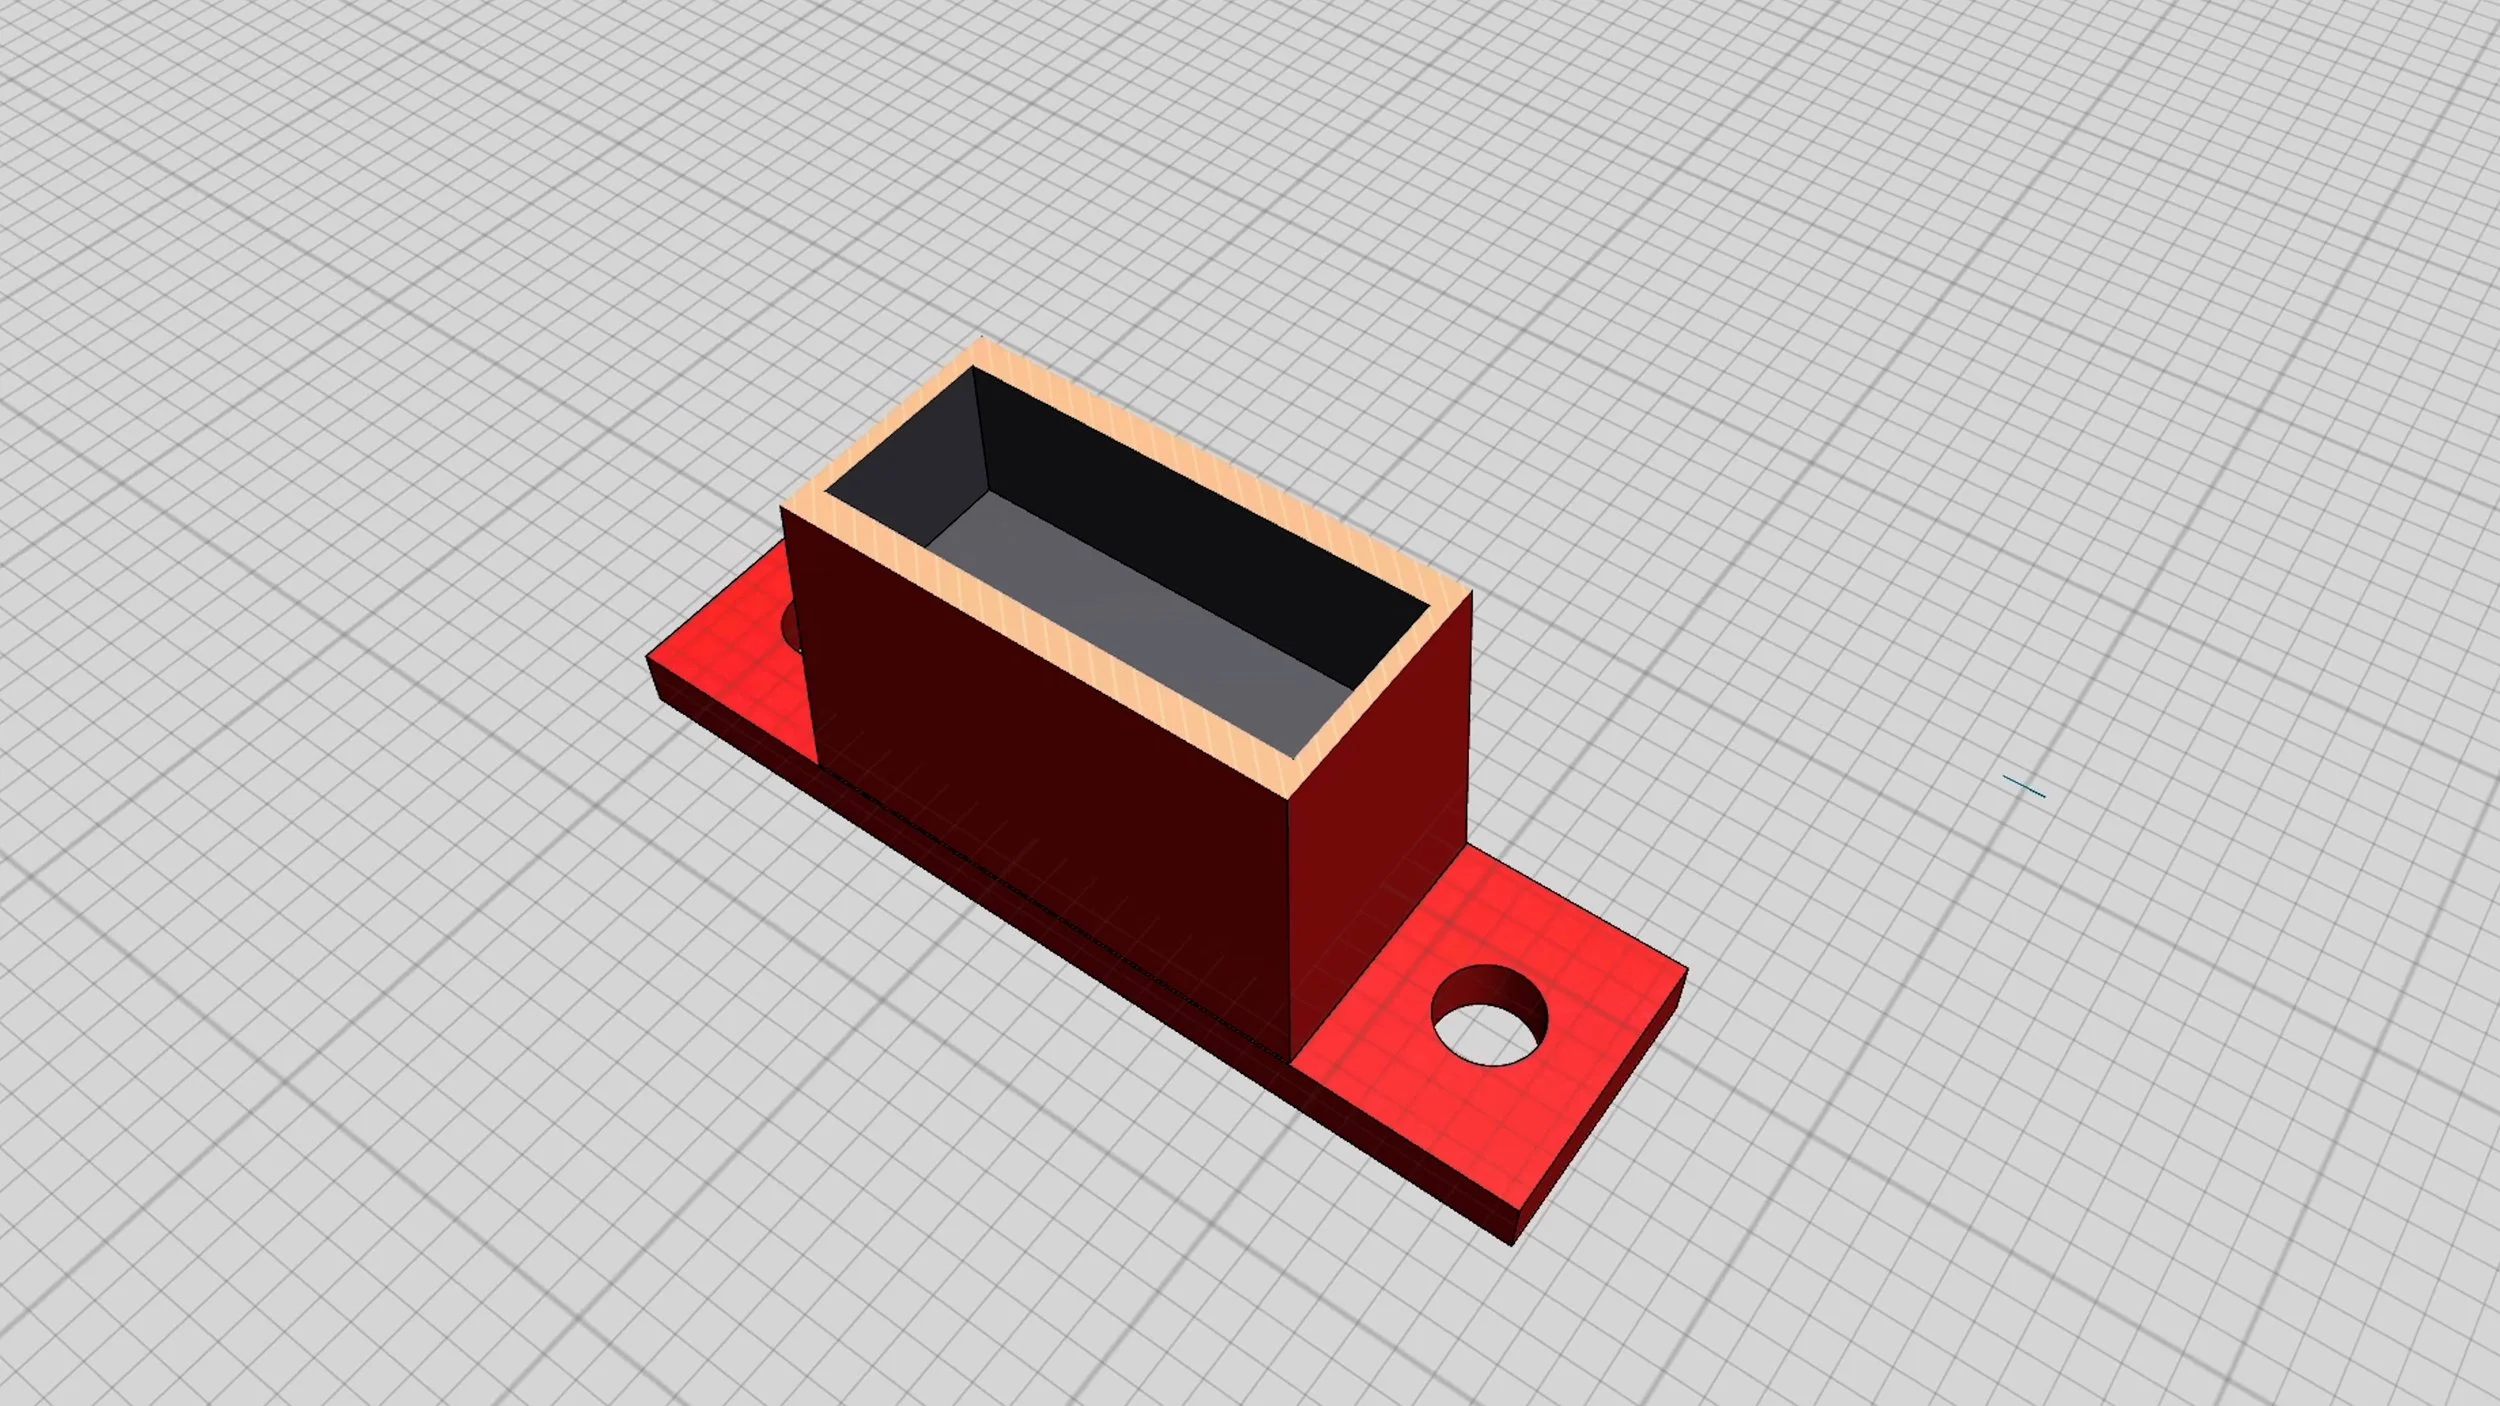

Magnetic post
We modeled a magnetic post that would be compatible with the aforementioned mounting system. It uses a pair of stacked 15 x 6 x 3 mm rectangular magnets. The fit was a little tight, but we wanted to make sure that we fit the biggest magnets we could, but also make the walls as strong as we could. We also didn’t want the magnets to end up rattling inside.

Making sure we made note of the polarity orientation of the original mount, and inserting our magnets accordingly, we completed the print and sealed the magnets into our post.
After a few iterations, we were able to achieve a nice snug fit that still readily released the camera when needed.
It is around these posts that we designed the other following items.

Bambu X1C external mount
The first application that came to mind was to use the ideaCam to get an alternate angle, and non-timelapse footage of the Bambu in action.
It’s pretty tight inside the X1 see’s chamber, so mounting needed to be external. Either over the top without the glass, or with the door open. We opted to try both to give us some options, so we designed a bracket that mounts in both positions. Magnetic posts attach with 2 M3 x 6mm screws.
The bracket was designed in two sections (connected by a couple M2 x 20mm screws), in part to facilitate easier and cleaner printing, but also so that we could make adjustments to the fit of either section without having to print the entire thing over again.

We use an AMS riser, so we needed to account for that. Our bracket hooks over the top under the ridge where the glass normally rests, then hooks under the top front panel of the X1C. It’s secure, but because that panel is plastic, we needed to be careful.
So far, it’s worked fairly well, but the camera could probably be set a bit farther back for a wider and more optimal view of the Bambu’s working area.

Tripod mount
Next, we worked on a way to be able to quickly mount the ideaCam at each station we frequently used. We had been removing and reattaching that base at each station, so replicating a version of the original mount seemed like a good place to begin.
We used heat-set inserts for the tripod mount points; an M6 bolt, nut, and plastic washers to match the smoothness of rotation in the original base.
But for our version, we omitted the counterweight and added a second ¼” mount point to give us additional angle options.
It can be mounted flat, for a shorter profile. Or on its end for a bit of additional height and the ability to angle the camera upward.

Since these are fairly inexpensive to produce, we made a few and mounted them at some of the stations where we often shoot video. These give us the option of quickly mounting and using the ideaCam for anything we happen to be doing.
And the magnetic post mount system allows moving the camera from station to station while retaining position and angle.
And because the ideaCam S1 is connected via cable directly to the laptop, there are no memory cards to deal with, and we have the benefit of a large preview monitor.
Links to the files can be found in the Files link below.
For more information on the BenQ ideaCam S1 Pro, click here
-
If you are interested in what we used for this process, you can find our materials below.
Hardware:
Bambu X1 Carbon
WhamBam 258 x 258 Flexi Plate with Pre-Installed PEX Build Surface
xTool F1
Software:
Shapr3D Version 5.710.0 (7459)
Bambu Studio 1.9.5.51xTool Creative Space v2.1.12
Materials:
Magnetic Posts:
Grey PLA Pro
15 x 3 mm magnets
M3 x 6mm screw
X1C bracket:
Green PLA
M2 x 20mm screw
Tripod mounts:
Green PLA
1/4" Brass Heatset Inserts
M6 bolts
M6 nuts
M6 plastic washers -
-
*Please remember that using lasers on synthetic materials always runs the risk of putting harmful chemicals into the air. So, before beginning, don't forget to ensure that you have proper ventilation and to use hoods and air filtration whenever possible.