


PROJECT
Halbach Array
We go through the process of building a Halbach Array to find out if it might do a better job at remagnetizing our printer bed than our earlier opposing polarity stack assembly.
Reference files can be found in the Materials Reference accordion at the bottom of the page
What is a Halbach Array?
And how is it different from other magnet configurations we’ve used?
In a previous video we had incorrectly referred to a magnet assembly we were using as a ‘Halbach Array’, when instead, it was actually a stack of magnets more simply arranged so that adjacent magnets opposed each other along a single axis. From what we can gather, it’s the areas in this stack where the opposing polarities make contact that are the places where the magnetic field is concentrated.

It’s these contact areas that actually correspond to the lines you see when using the magnetic field viewing film.
This type of assembly is what helped us repair the printer bed we ended up demagnetizing through the course of our early magnet embedding experiments.
Thanks to some insight provided by our audience, we realized we needed to look more into magnet assembly configurations.
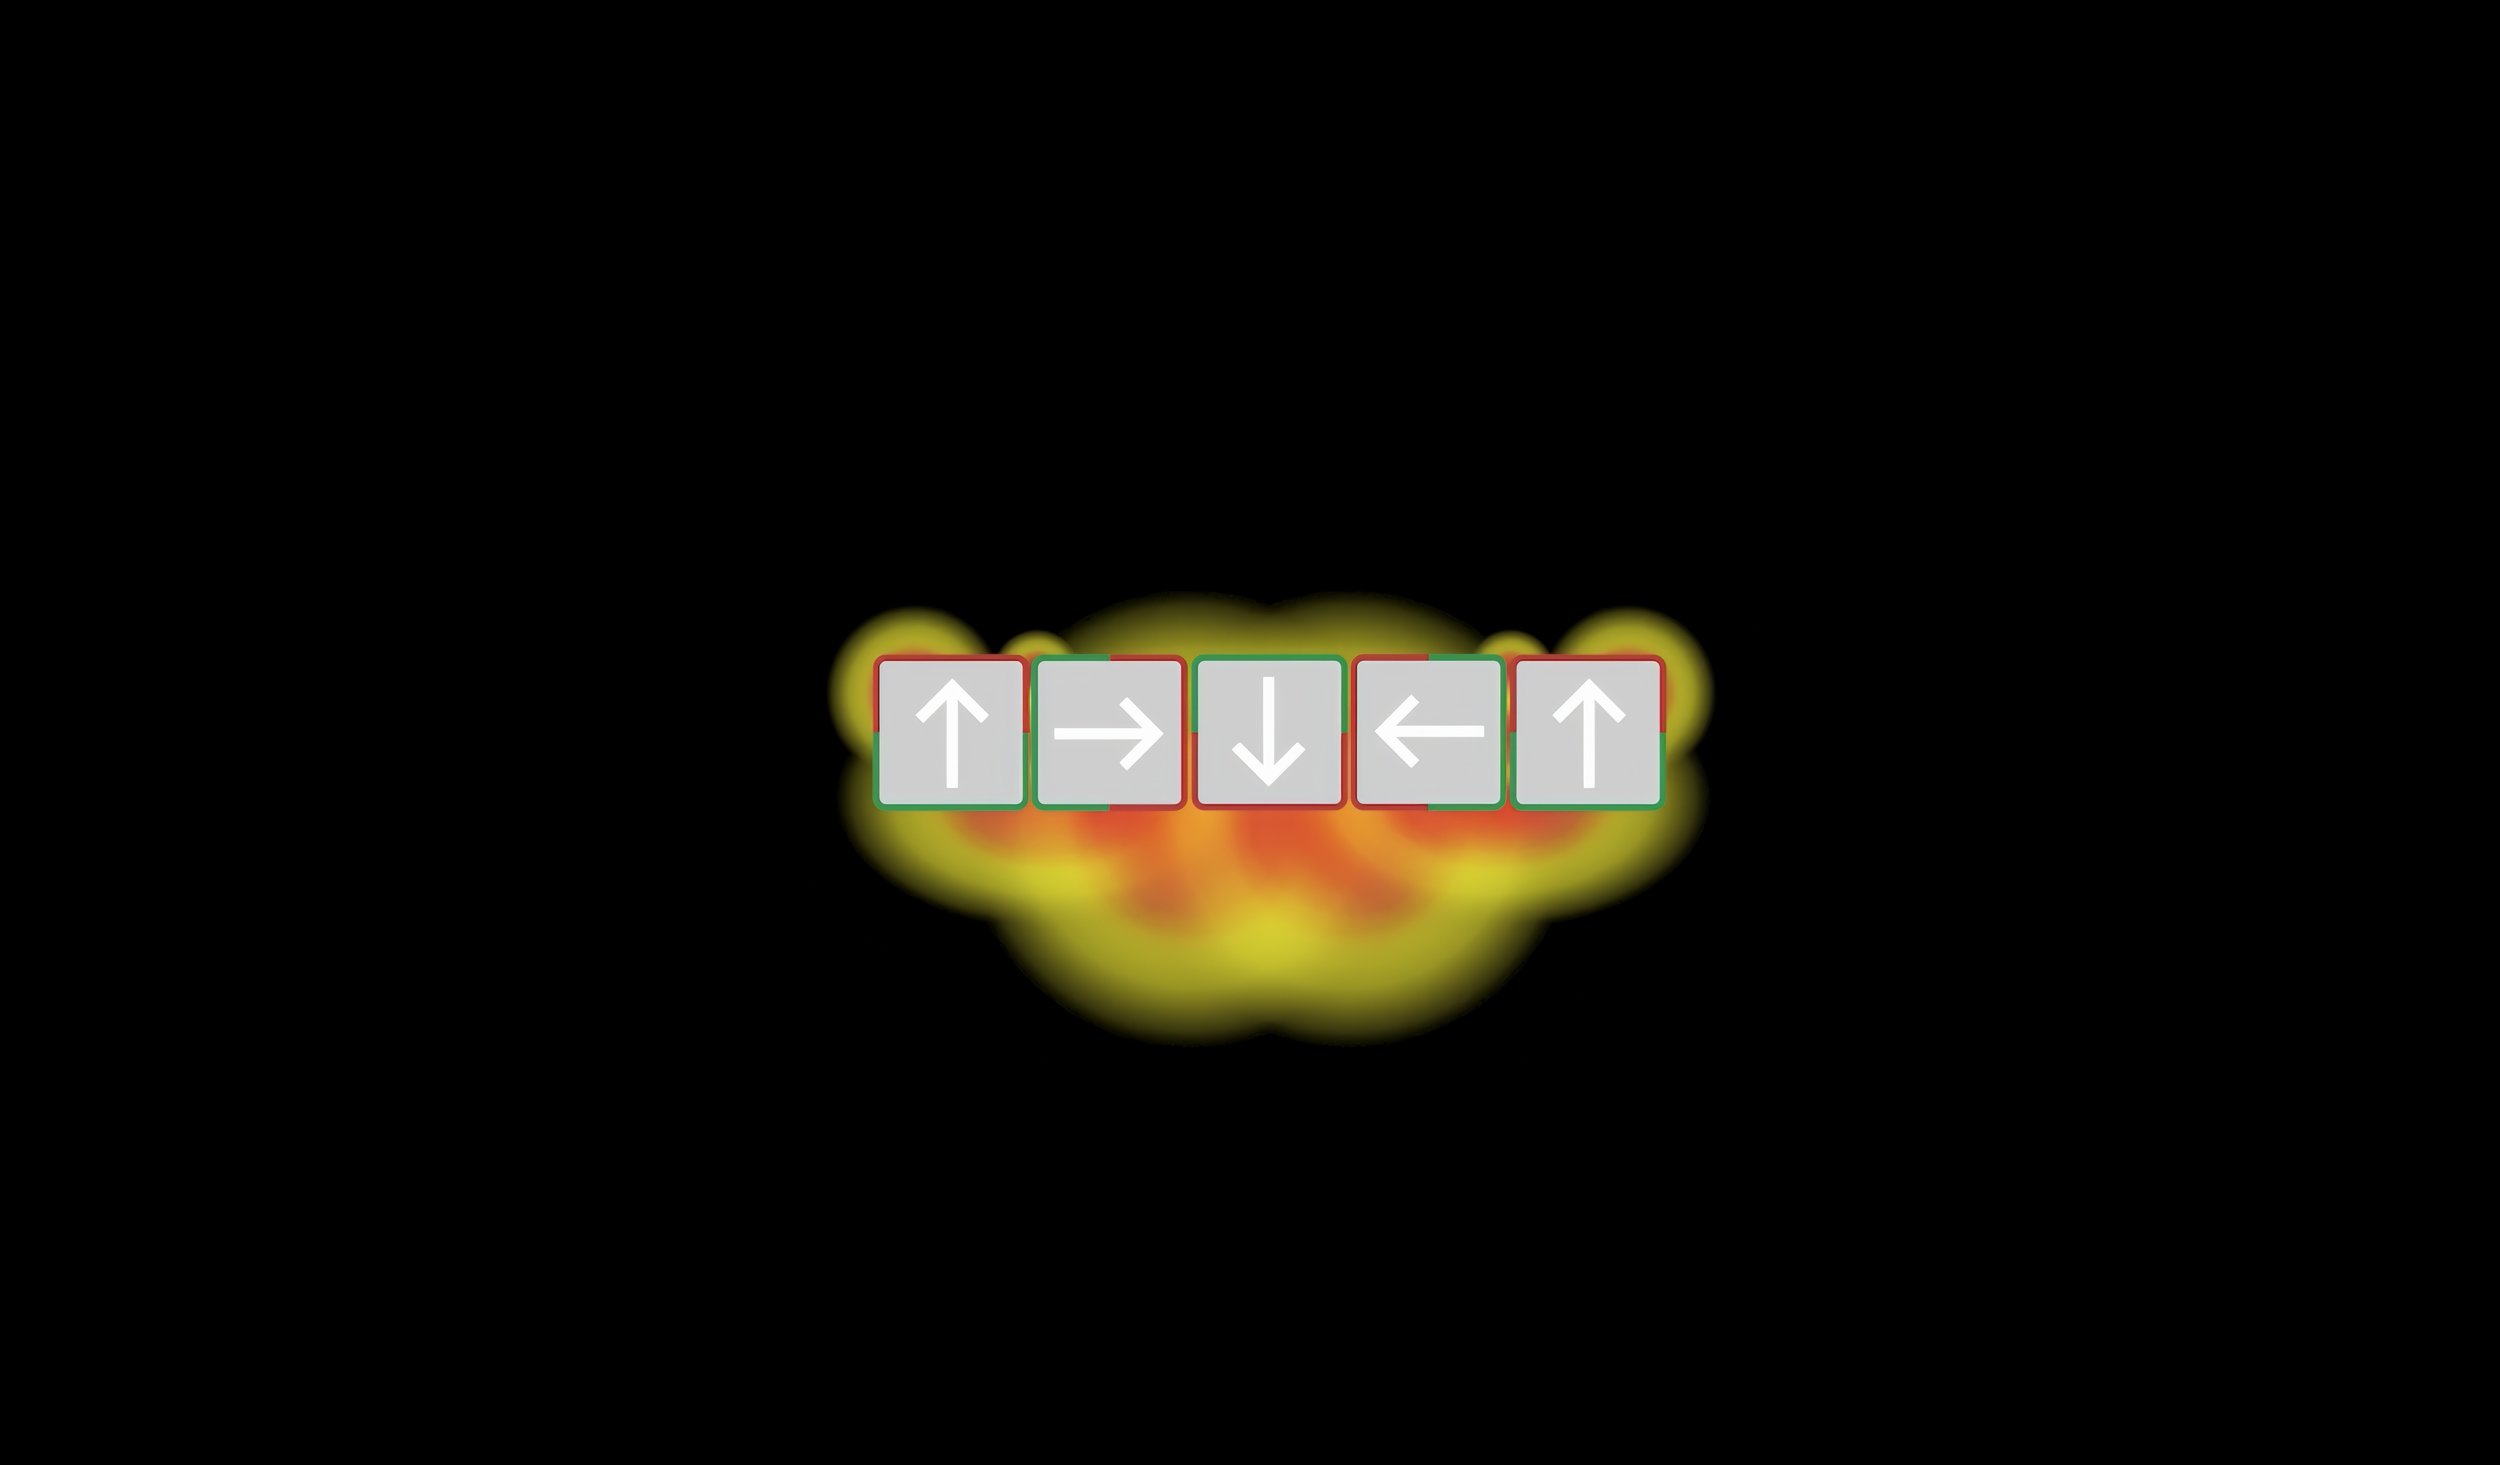
A Halbach Array is a set of magnets arranged so that their polarities are oriented in specific directions in relation to each other. For reasons beyond our current understanding, this actually orients the magnetic field to one side of the arrangement, amplifying the field on that side, while diminishing it on the opposite side.
This also required us to procure magnets from a specialized retailer, who has also been a source of very valuable information.

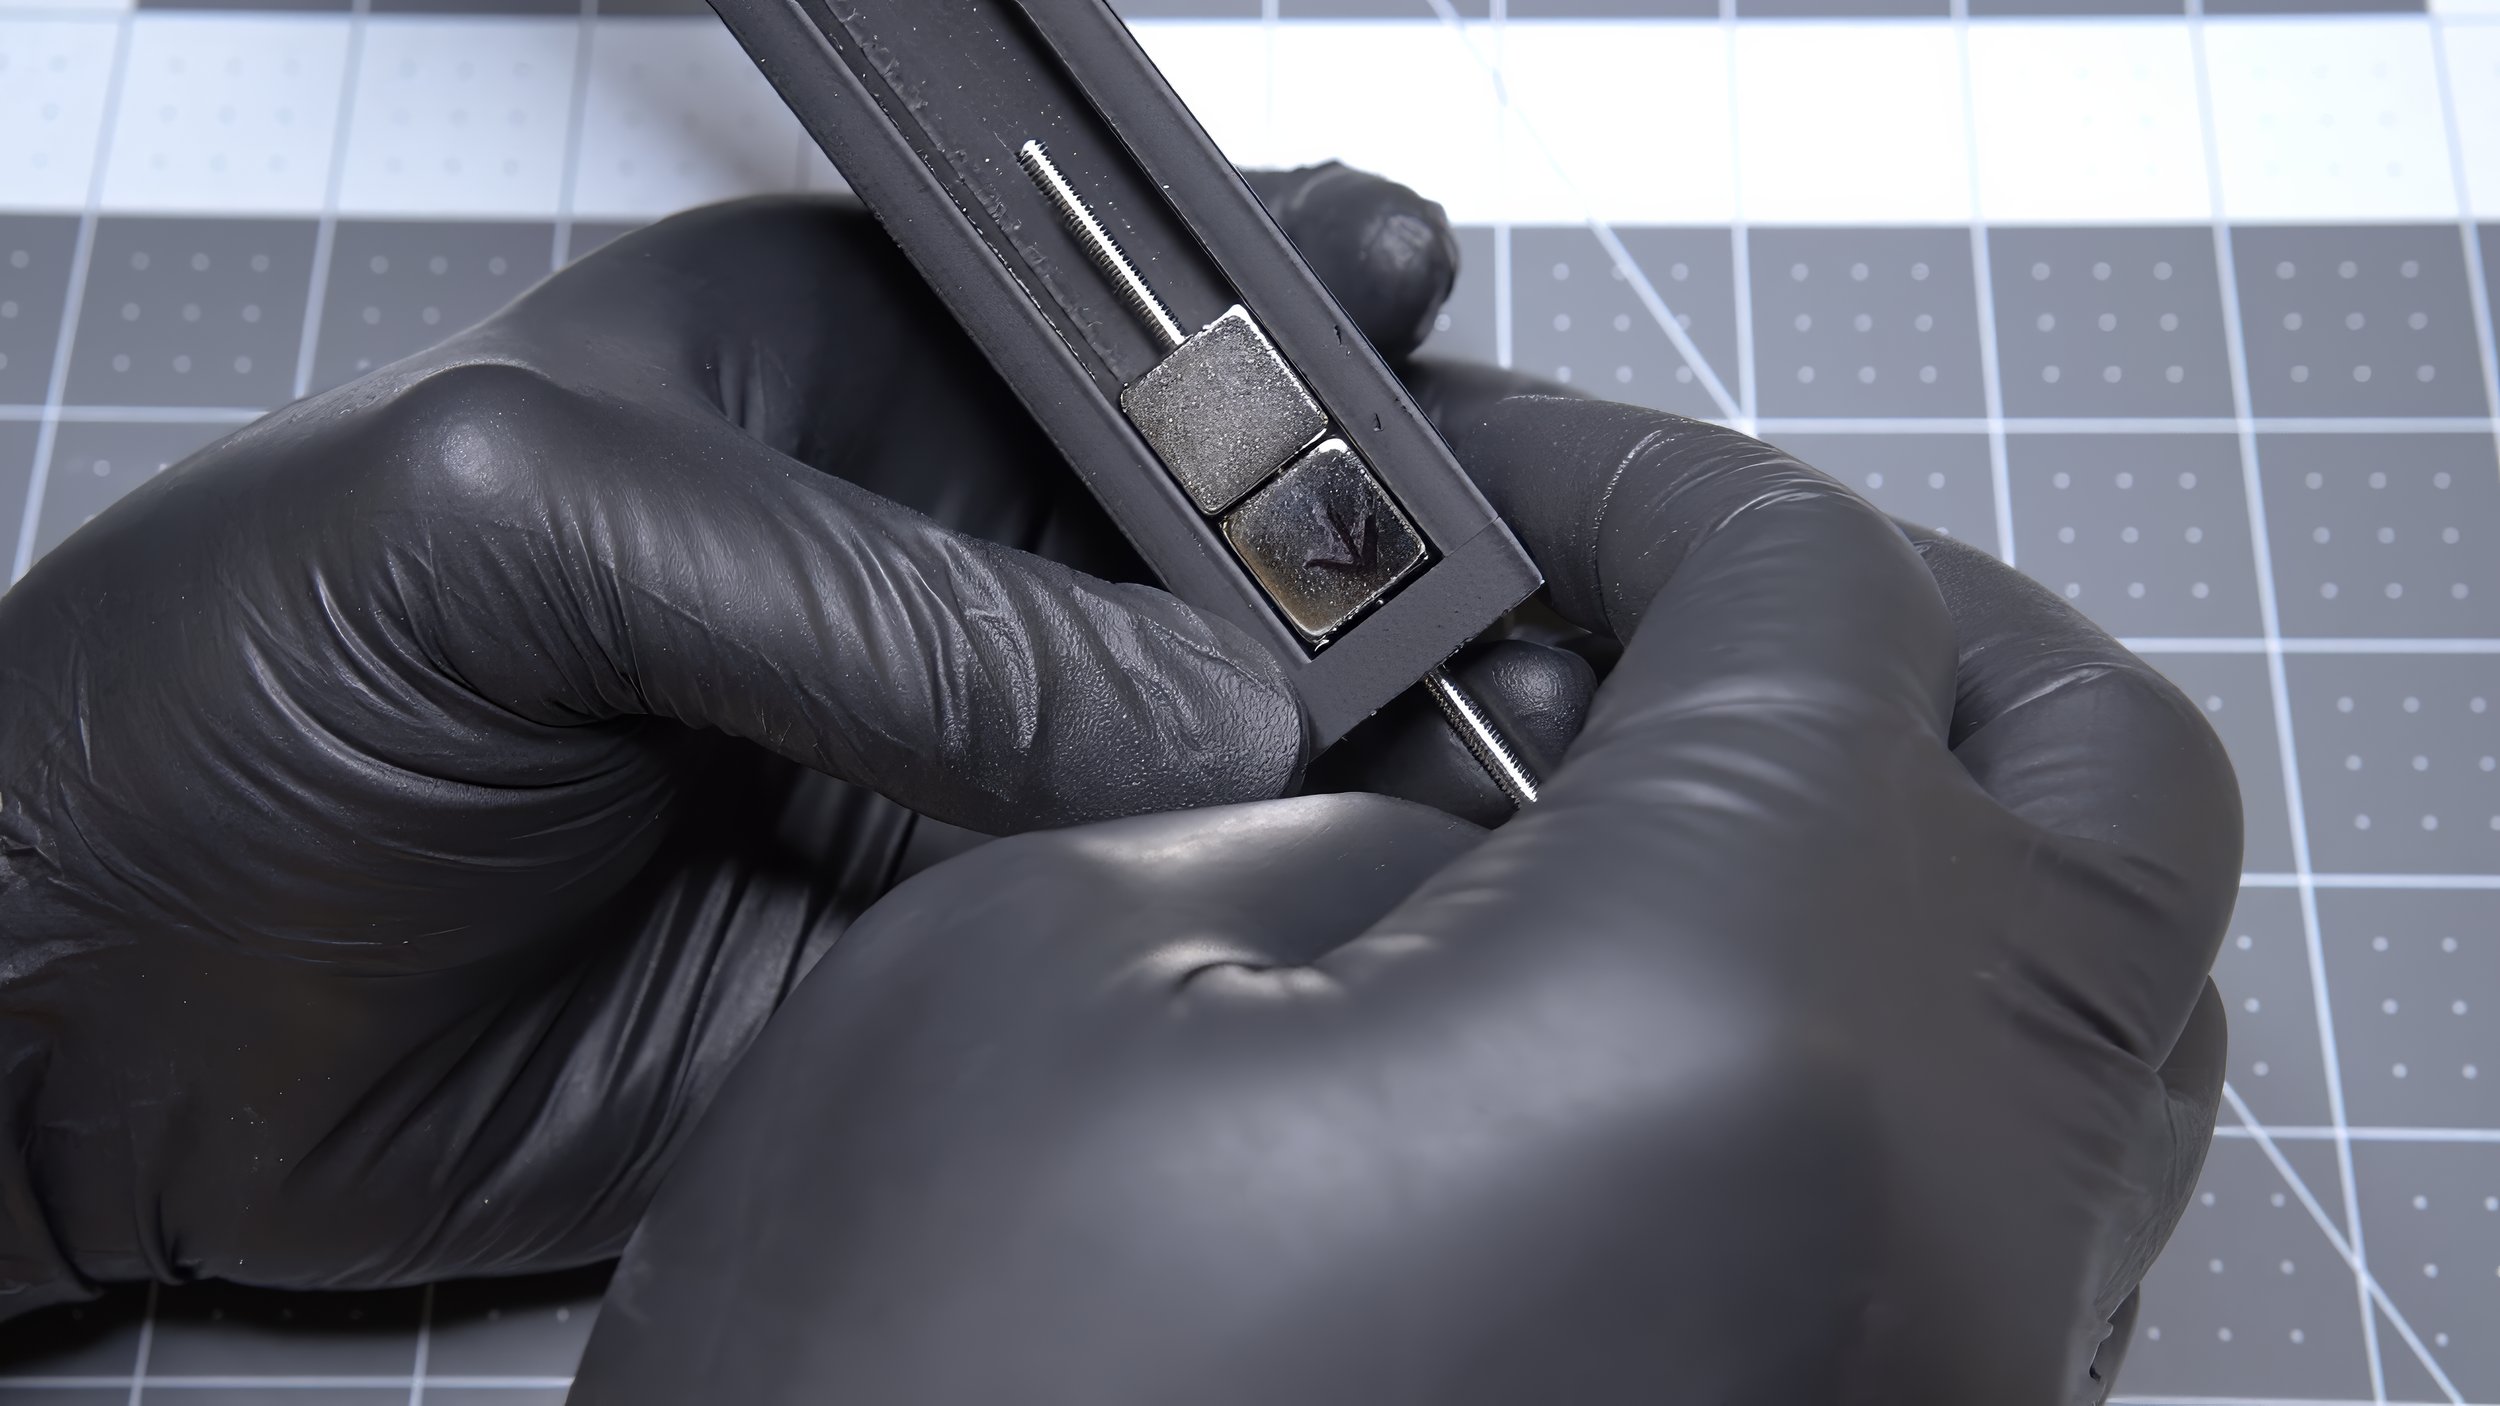
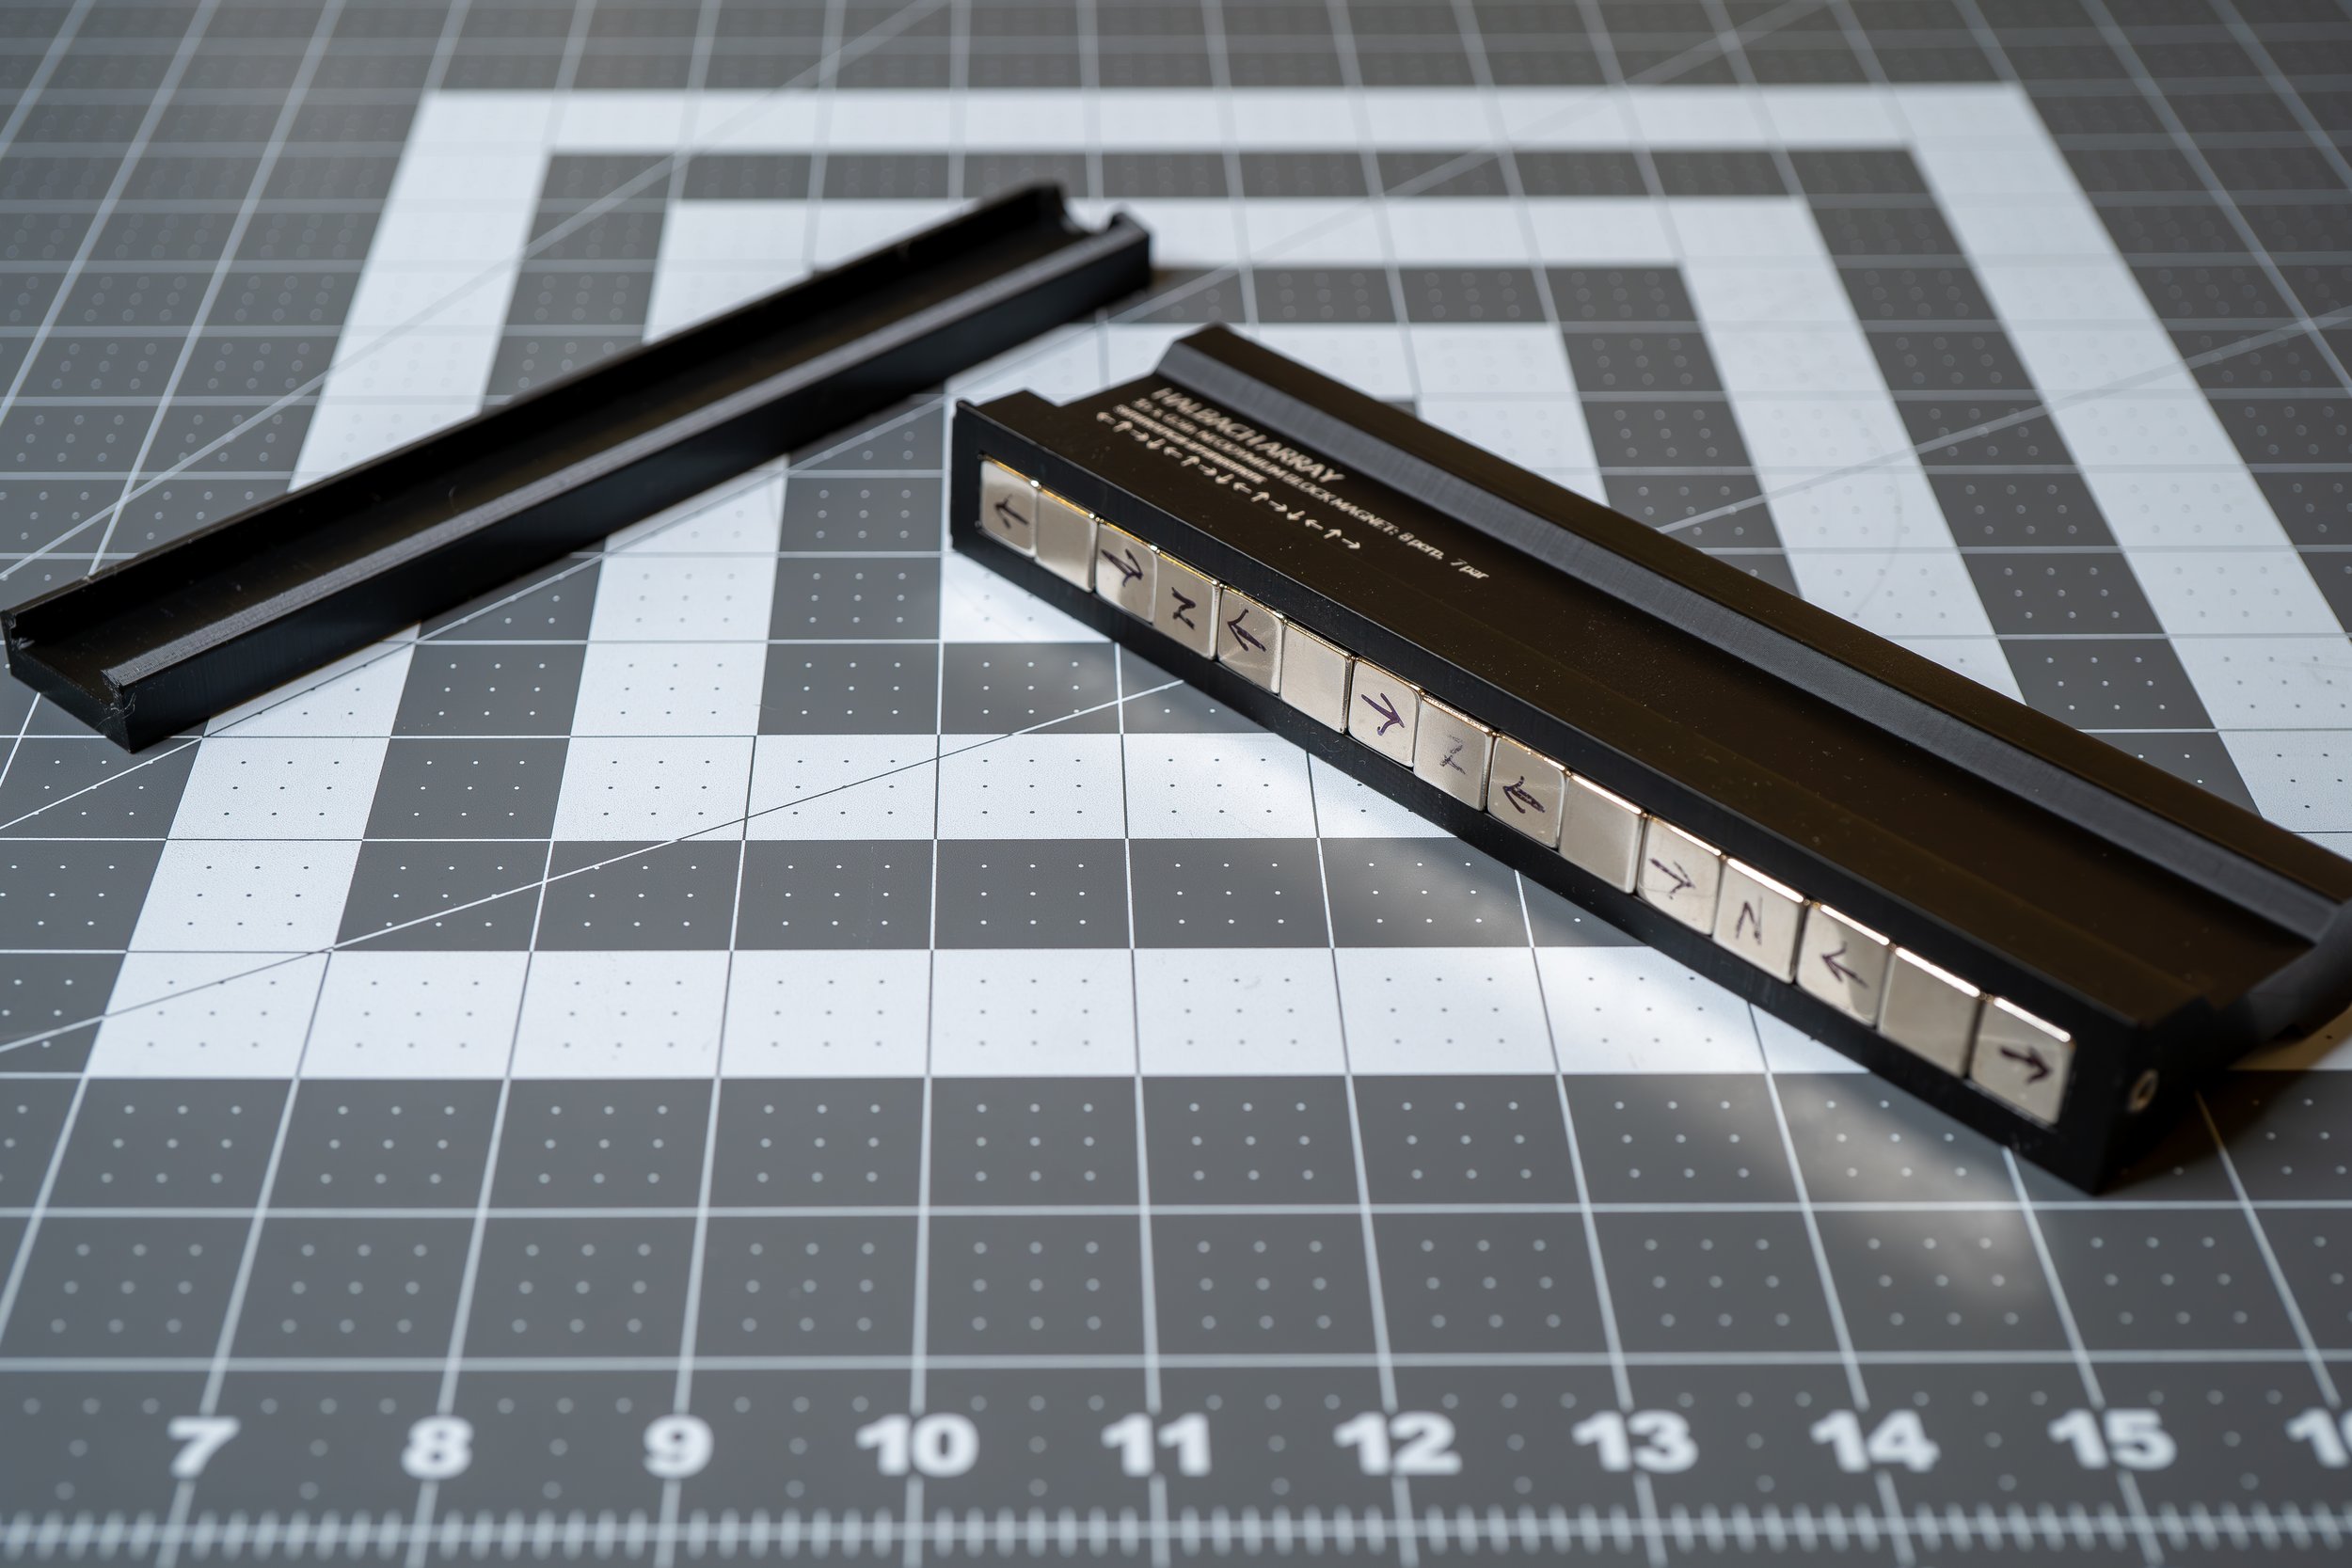
And because we will be working with a number of these, and they all look essentially the same despite drill shaft orientation, we took the time to label them each clearly on more than one side. In part to preempt any rubbing off of the labels that will happen with the extensive amount of handling that we predicted with this build.
Also note that using a metal plate to place them on (like a spare build plate) will help keep them from separate and away from each other.
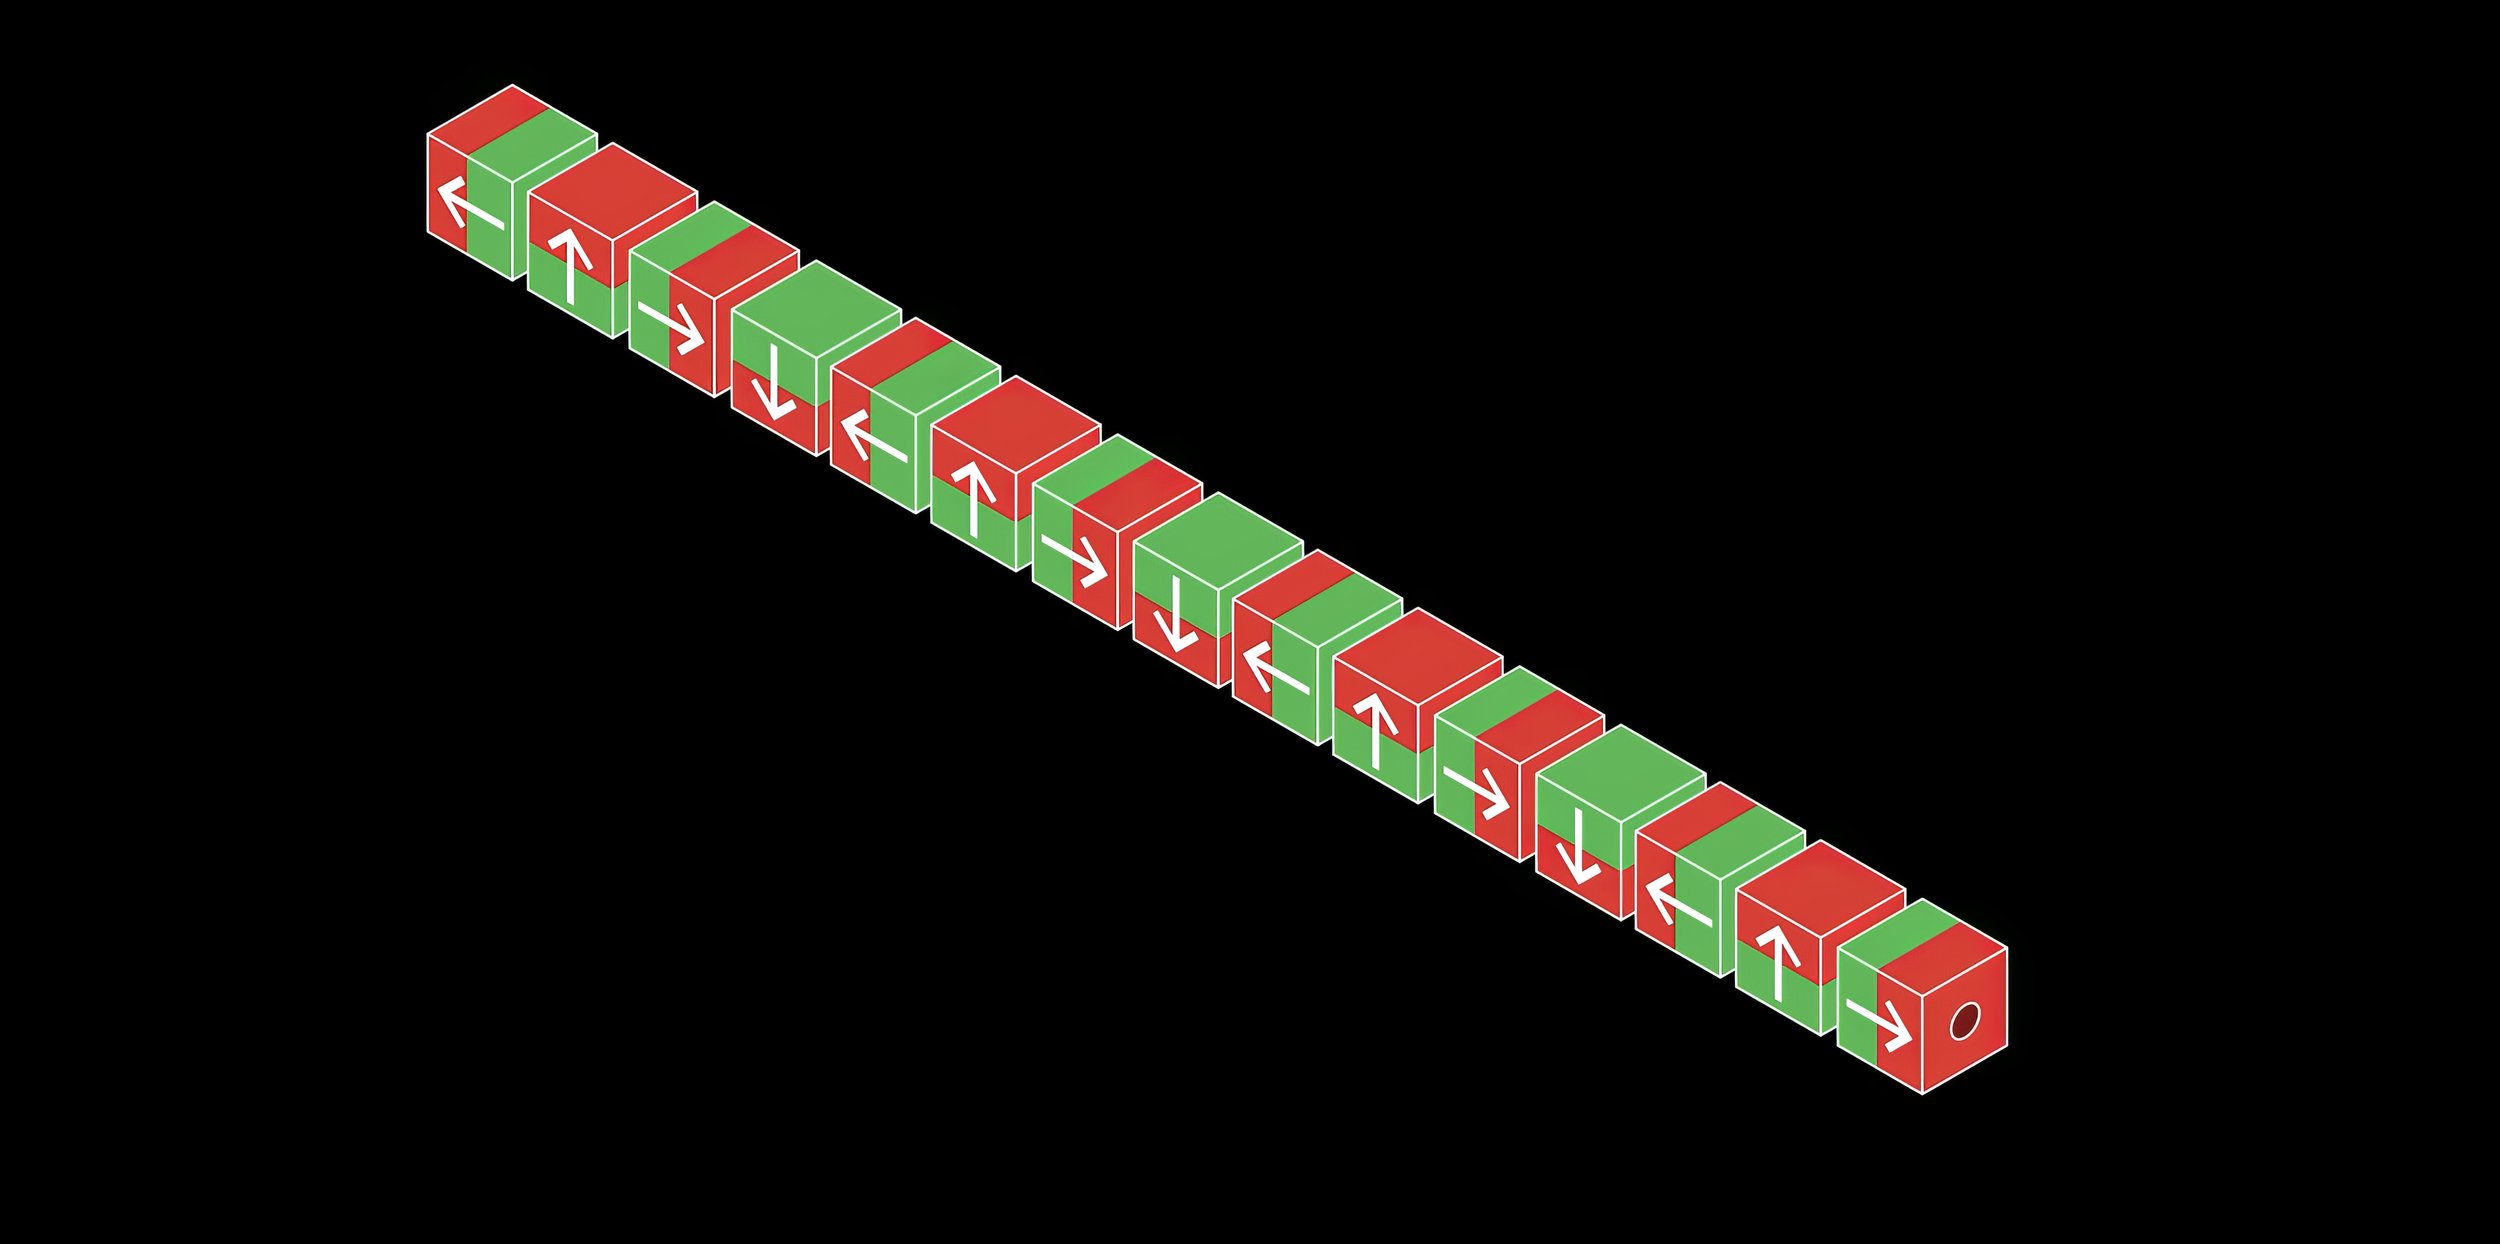
15 unit symmetrical Halbach Array
We designed the housing so that it would cover all but the amplified side of the array to help prevent unintentional lateral attraction of things. The long threaded rod we were using passed through both the array and the housing. But this meant that we had to make sure we didn’t make any mistakes on magnet orientation when we installed each of them individually.
Getting all the magnets properly into the housing and onto the rod was easier said than done; with each added magnet, the field of the assembled magnets eventually became so strong that it would often suck the magnets right out of our grip before we were able to place them in the proper orientation and slot the shaft on the rod.
After a lot elbow grease, we were able to get it all together, but the question was: would it do any better job at remagnetizing the bed than the Opposing Polarity Stacks did? Not being sure what exactly it would do, we opted to try it on some flexible sheet magnets instead, which are made in a very similar way to the magnetic bed tops in many 3D printers.

And the answer…..after all that….was……’NO’...
It actually did quite the opposite, more quickly and more completely de-magnetized the sheet magnet compared to anything else we had (and would likely do the same to the Bambu’s bed). We think this is because the amplified side of the Halbach array we built seems to work like the uniform field of a very large magnet. Rather than a series of alternating fields.

Compared to solid neodymium magnets, flexible magnets aren’t comprised of as much magnetic material; and a large proportion of their makeup is the rubber or polymer that makes them flexible, which itself is not magnetic. So, uniformly magnetizing them in one direction results in such a weak magnetic field that they’re practically demagnetized. But magnetizing them so that they have multiple alternating fields can effectively increase their magnetic strength.
So that brings us back to opposing polarity stacks.
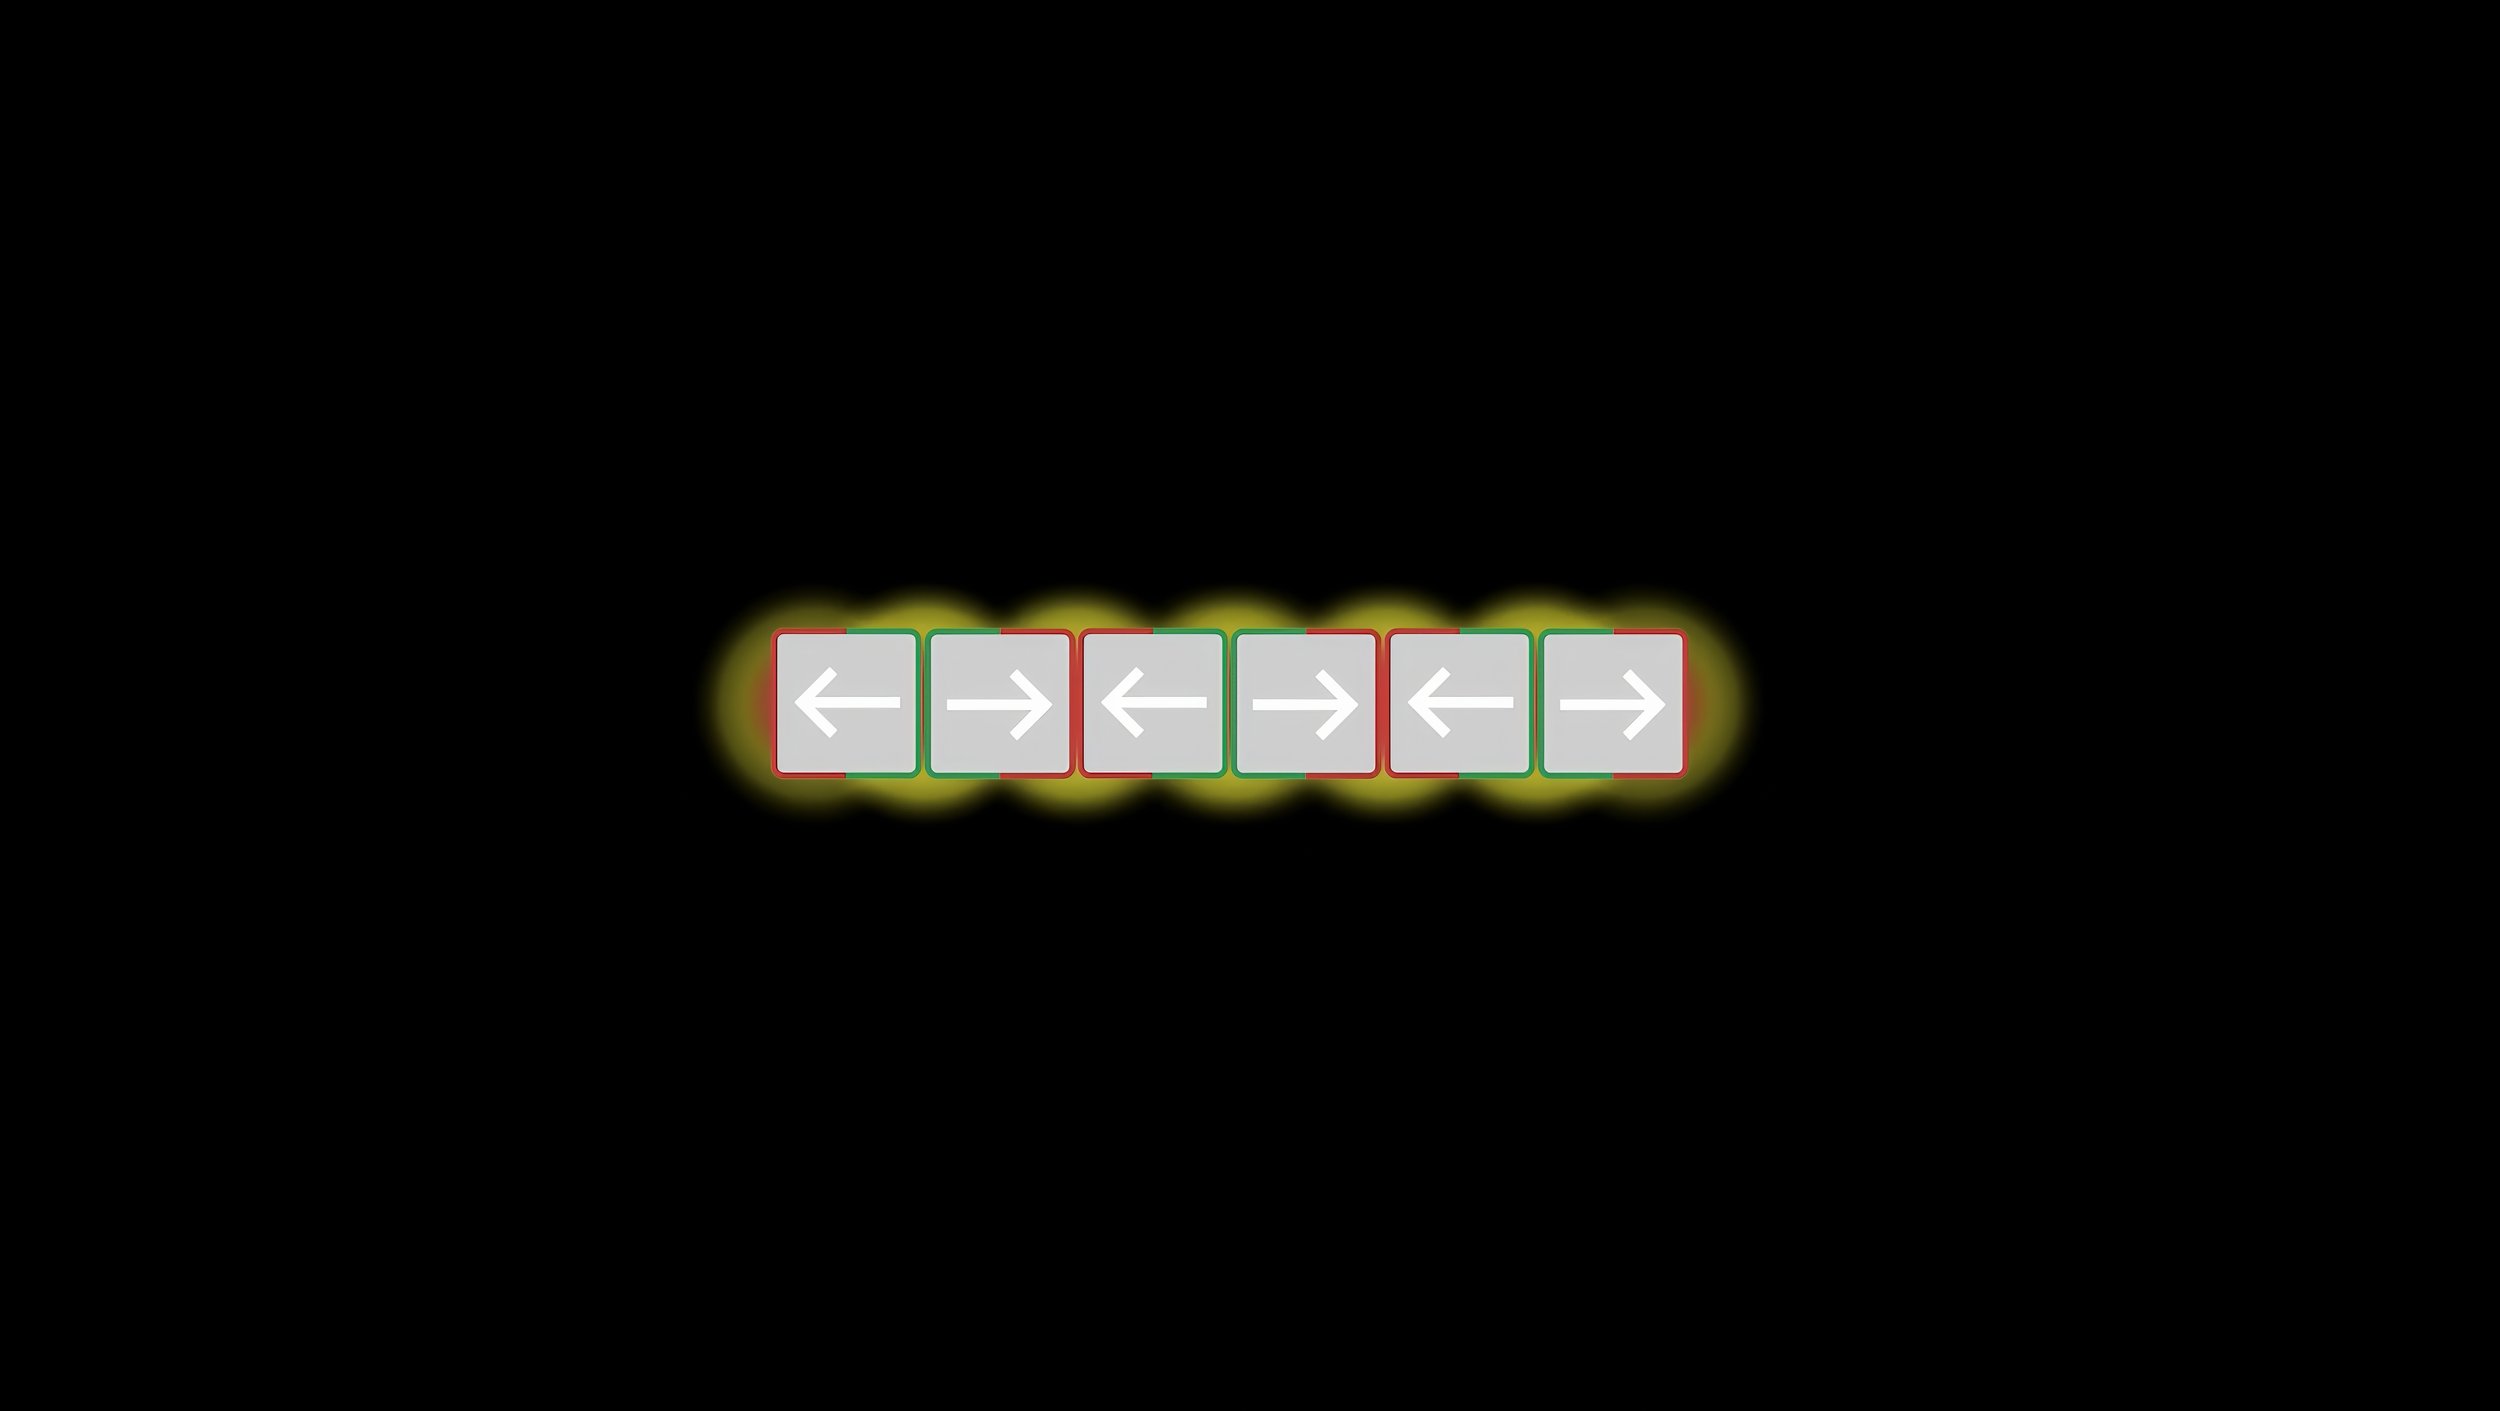
Opposing Polarity Stack
(Which we’ve also referred to as ‘Alternating Polarity Stacks’)
We’ve already constructed a number of opposing polarity stacks, each a little bigger than the last. Larger, more powerful magnets seemed to impart stronger magnetic properties to the bed. So designed one more, to accommodate bigger magnets; this time 30 x 5 mm.


This time, we added a grip for more control and to make it easier to use and store. We also designed a sheath for the assembly to make it easier store and prevent unwanted contact with the magnets. Full specs and 3D print files can be found in the Materials Reference link below.
-
If you are interested in what we used for this process, you can find our materials below.
Hardware:
Bambu X1 Carbon
WhamBam 258 x 258 Flexi Plate with Pre-Installed PEX Build Surface
xTool F1
Software:
Shapr3D Version 5.631.0 (7013)
Bambu Studio 1.8.4.51
xTool Creative Space
Materials:
Black PLA Pro
For Halbach Array:
1 M5 x 150mm threaded rod
2 M5 nuts
8 - 1/2" x 1/2" x 1/2" (0.125" aperture) neodymium magnets; Hole parallel to magnetization direction
7 - 1/2" x 1/2" x 1/2" (0.125" aperture) neodymium magnets; Hole perpendicular to magnetization direction
For Opposing Polarity Stacks:
2 M5 x 150mm threaded rod
4 M5 nuts
28 30 x 5 neodymium ring magnets; M5 aperture
Fabrication Files:
Halbach Array (ZIP file, 118KB)
Opposing Polarity Stack (ZIP file, 427KB)
-
*Please remember that using lasers on synthetic materials always runs the risk of putting harmful chemicals into the air. So, before beginning, don't forget to ensure that you have proper ventilation and to use hoods and air filtration whenever possible.